

Bike Basics: How to Use a Torque Wrench
I’m going to tell you something that may surprise you…
In our household, I’m the one who takes care of our bikes- not my husband.
I wax our chains.
I torque bolts to spec.
I change out saddles, set up tubeless tires, rebuild pedal bodies.
My lovely husband helps- but I’m the household bike mechanic.
I tell you this because I’ve discovered that most female cyclists are scared to work on their own bikes. In fact, many women I’ve met don’t even know how to change a flat tire and just rely on a guy in the group ride to do it for them. This is a problem.
A confidence problem
A knowledge problem
A “no one ever showed me how” problem
And we’re going to fix that problem!
Because part of being a triathlete and cyclist is being responsible for your equipment, regardless of gender.
That’s why I’ve started a new series: Bike Basics For Women- simple skills every triathlete should know. And yes—this is for everyone. But I’m speaking directly to women who’ve been told this stuff is “too complicated” for them to do on their own.
Coming in this series:
changing cleats
swapping saddles
waxing chains
using a torque wrench
packing a bike for travel
Already covered:
Paid subscribers will also get a step-by-step video walkthrough for each skill so you can see it done in real time.
What is a torque wrench and why is it important?
First of all, let’s cover what a torque wrench is, what it’s used for, and why it’s an essential tool every cyclist should have.
Look at your bike, go ahead I’ll wait… You will see a wide variety of nuts, bolts, and screws that hold the bike together. Sometimes, after riding on rough and bumpy roads, or just through regular use over time, those bolts will loosen and need to be tightened again.
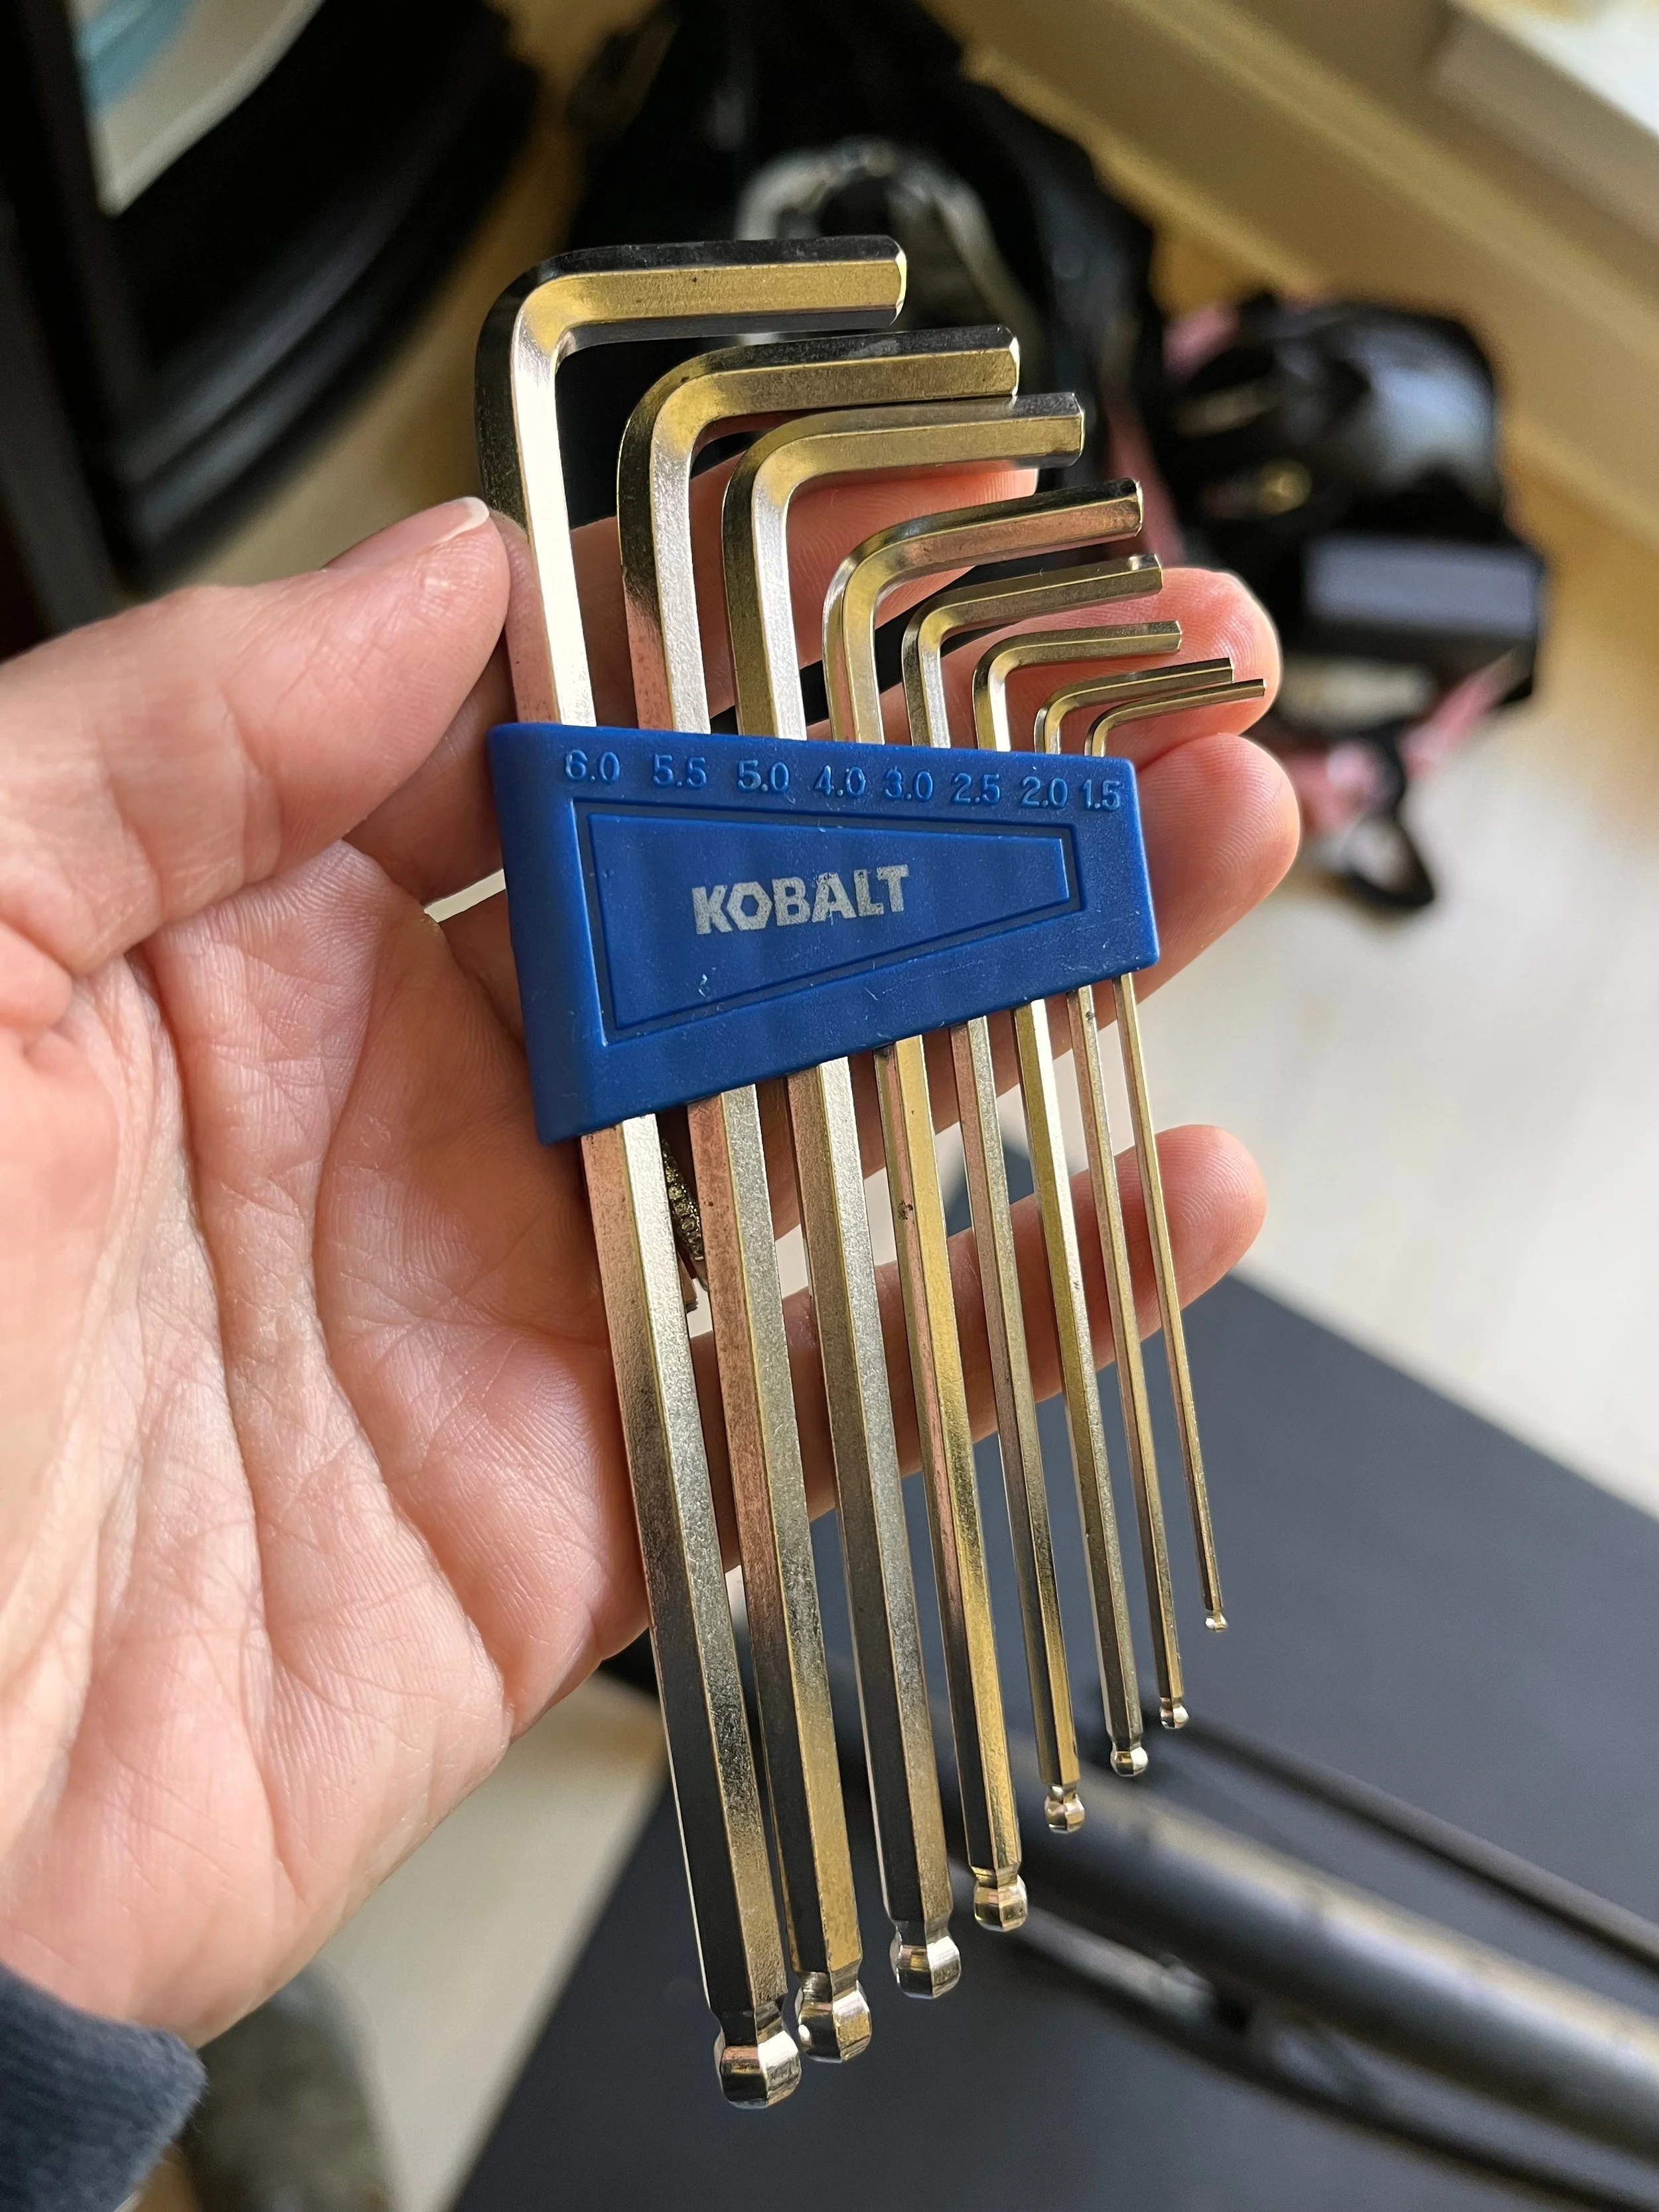
A set of hex keys
Typically, this is done through a hex key or Allen wrench. A hex key is a small, T-shaped tool that’s designed to fit into different-sized, hexagonal screw heads.
TIP: Loose nuts and bolts are generally the source of creaking sounds on your bike. It’s good to keep a mini set of hex keys in your bike bag or transition bag.
Hex keys are great to tighten a loose bottle cage or adjust pedal tension, but there are certain areas of your bike that need a more delicate touch.
Especially with carbon bikes, we have to be careful of over-tightening bolts, because you can crack the frame and damage expensive components... This is very bad.
So, how do you make sure a bolt is tight enough, but not too tight? You guessed it- with a torque wrench!
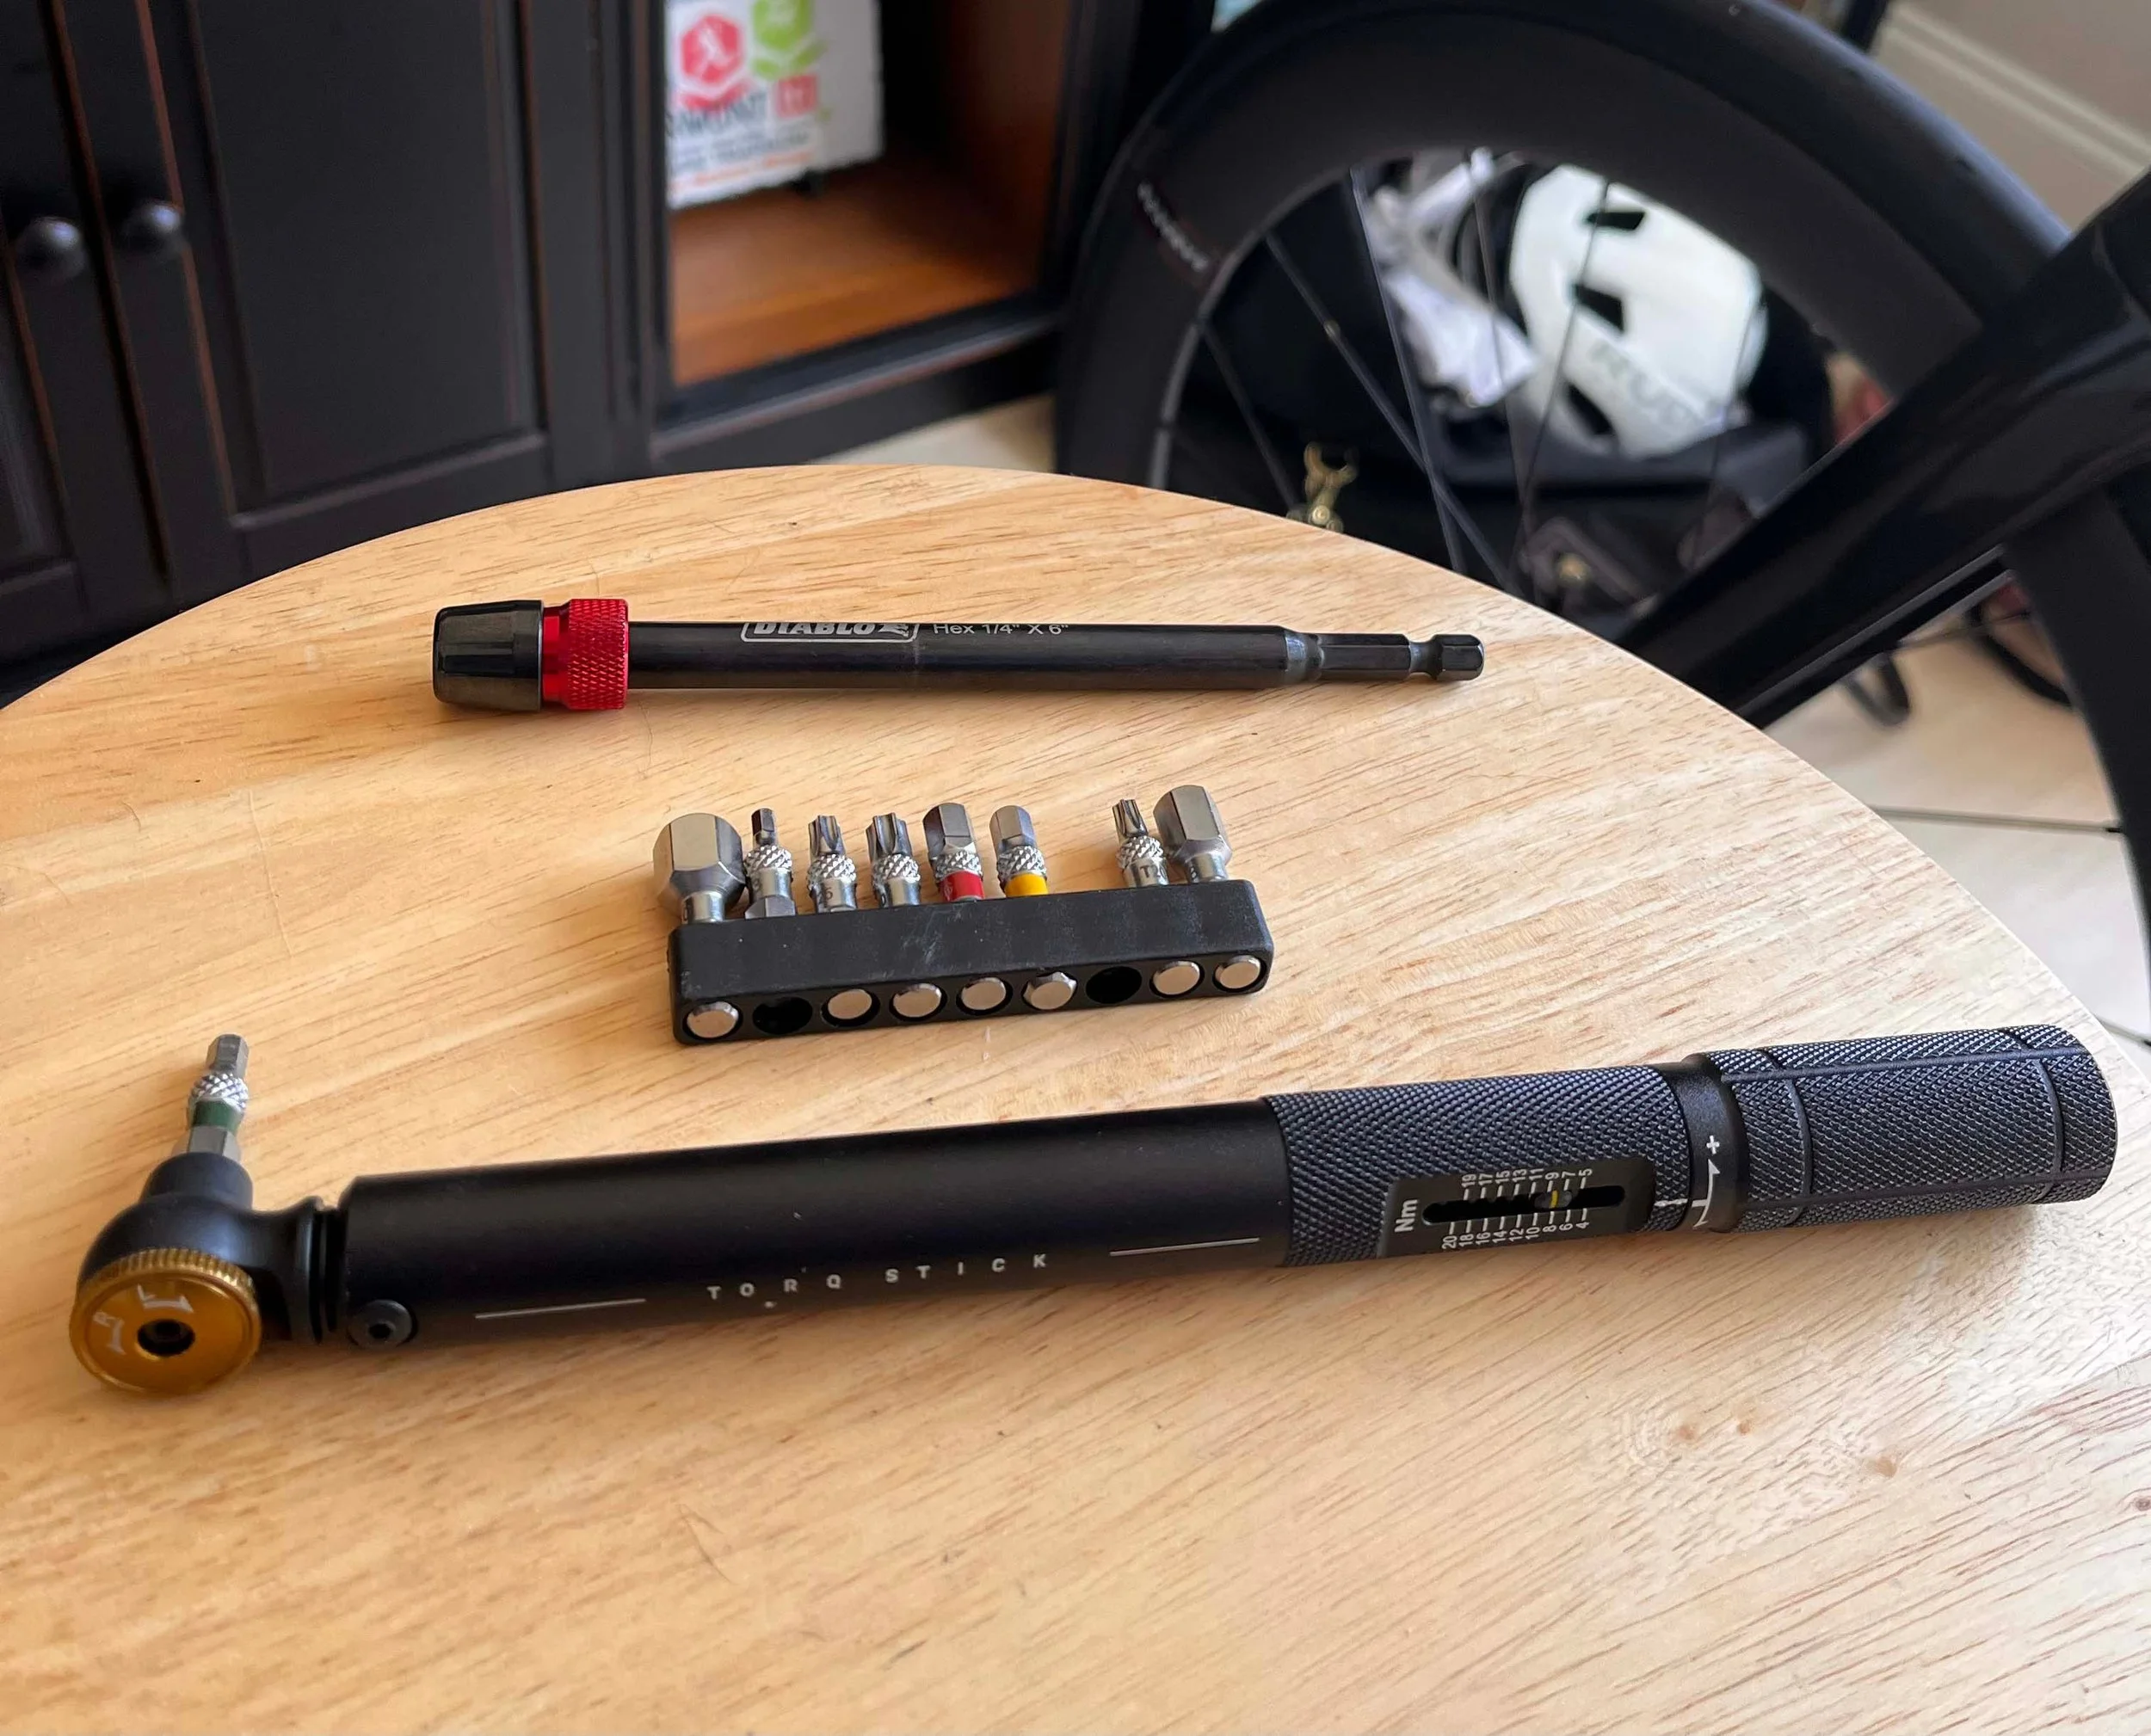
A torque stick, different heads, and an off-brand extender to fit hard to reach places that we got at Home Depot.
A torque wrench can
save you a trip to the bike shop
prevent issues (loose aerobars, dropped seat post, loss of nutrition)
provides peace of mind for races
simplifies post-travel rebuild
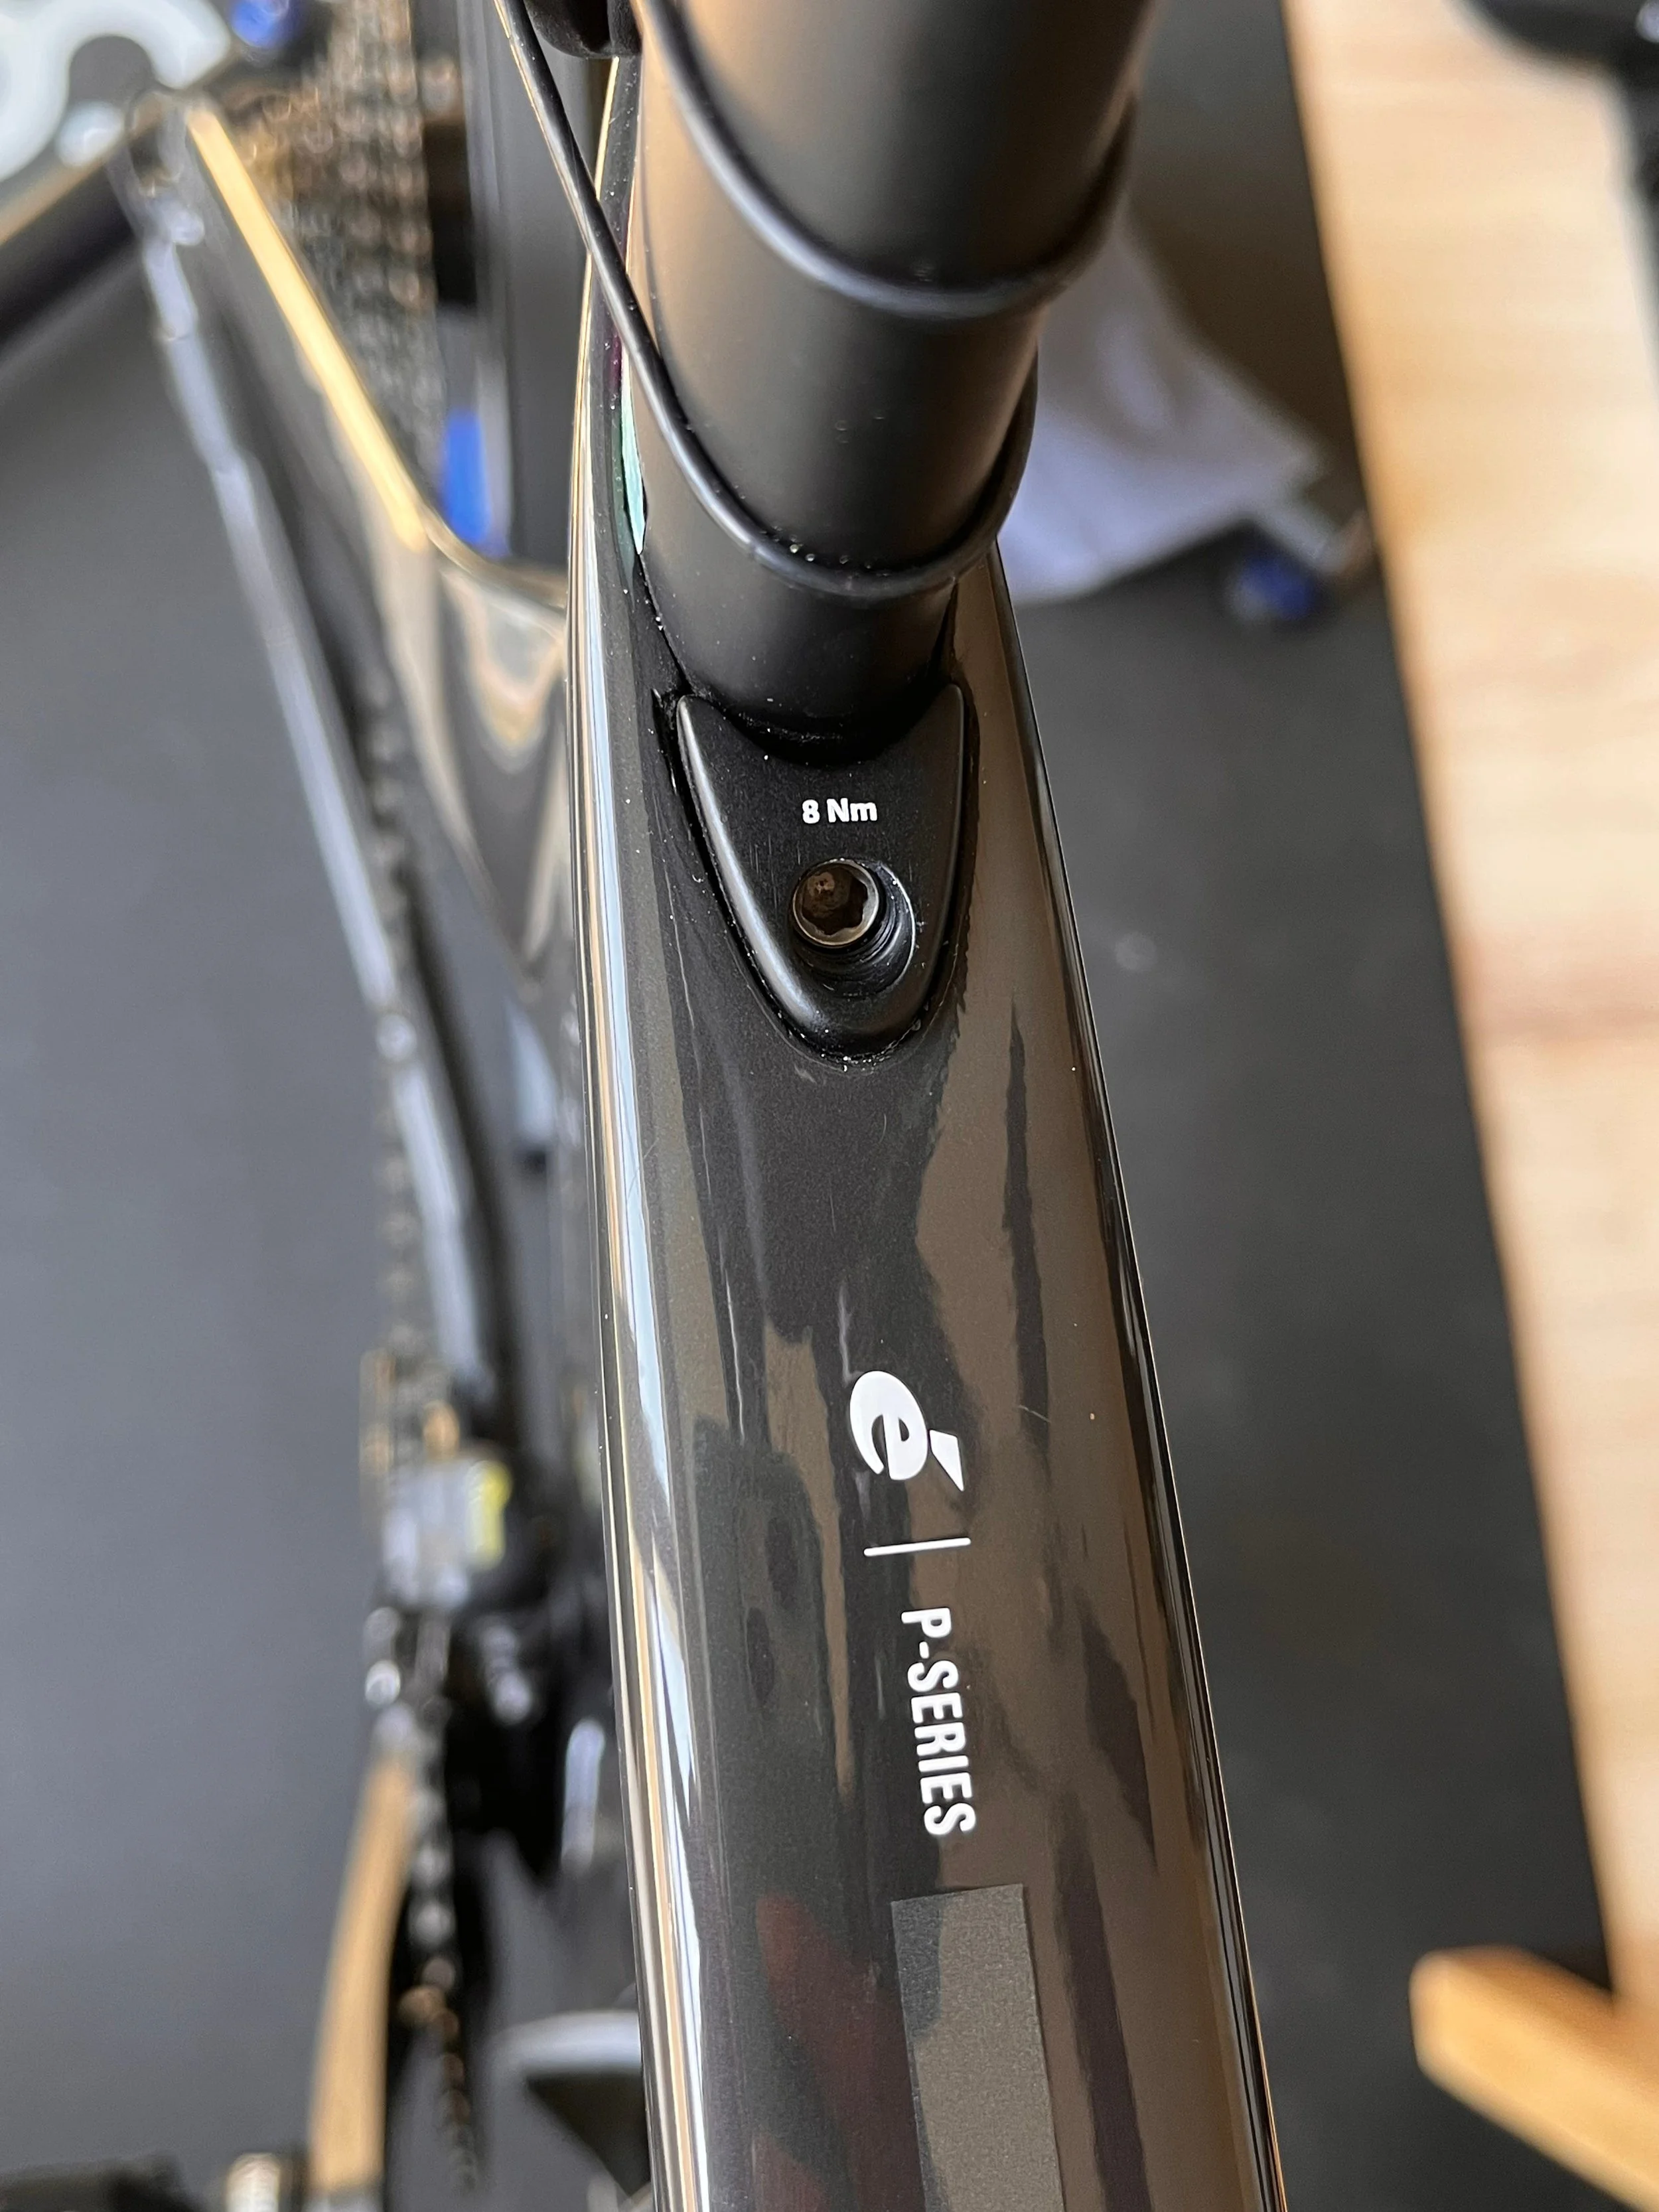
There are certain areas of a bike that should be tightened to a torque specification, which is measured in Nm (newton meters).
Here on my seat post clamp you can see it should be tighten to 8 Nm.
Essentially, a torque wrench measures resistance to rotation, so you can set it to a specific Nm.
Here are some areas of the bike where you might use a torque wrench:
seatpost
saddle
headset
handlebars
aerobars
front cockpit
Each one of these areas will have a specific torque setting, and many newer bikes have it listed right on the frame, which makes it super easy! If your bike doesn’t have Nm listed, you can use this Park Tool torque guide with recommended ranges.
How to use a torque wrench
There are many different version out there, and some are even electronic (but those are expensive). We use a Topeak torque stick. It’s small, effective, and easy to use. The torque stick comes with 9 different heads that can fit different styles of bolts as well as a handy magnetic piece that helps the head click right in. You can also change the rotation direction (leftie loose, righty tighty).
*Amazon partner. If you make a purchase at one of these links, we make a small commission at no additional cost to you.
Step 1: Choose your bolt
First, pick an area of your bike with a bolt in need of tightening. Look for the Nm setting or use a recommended range.
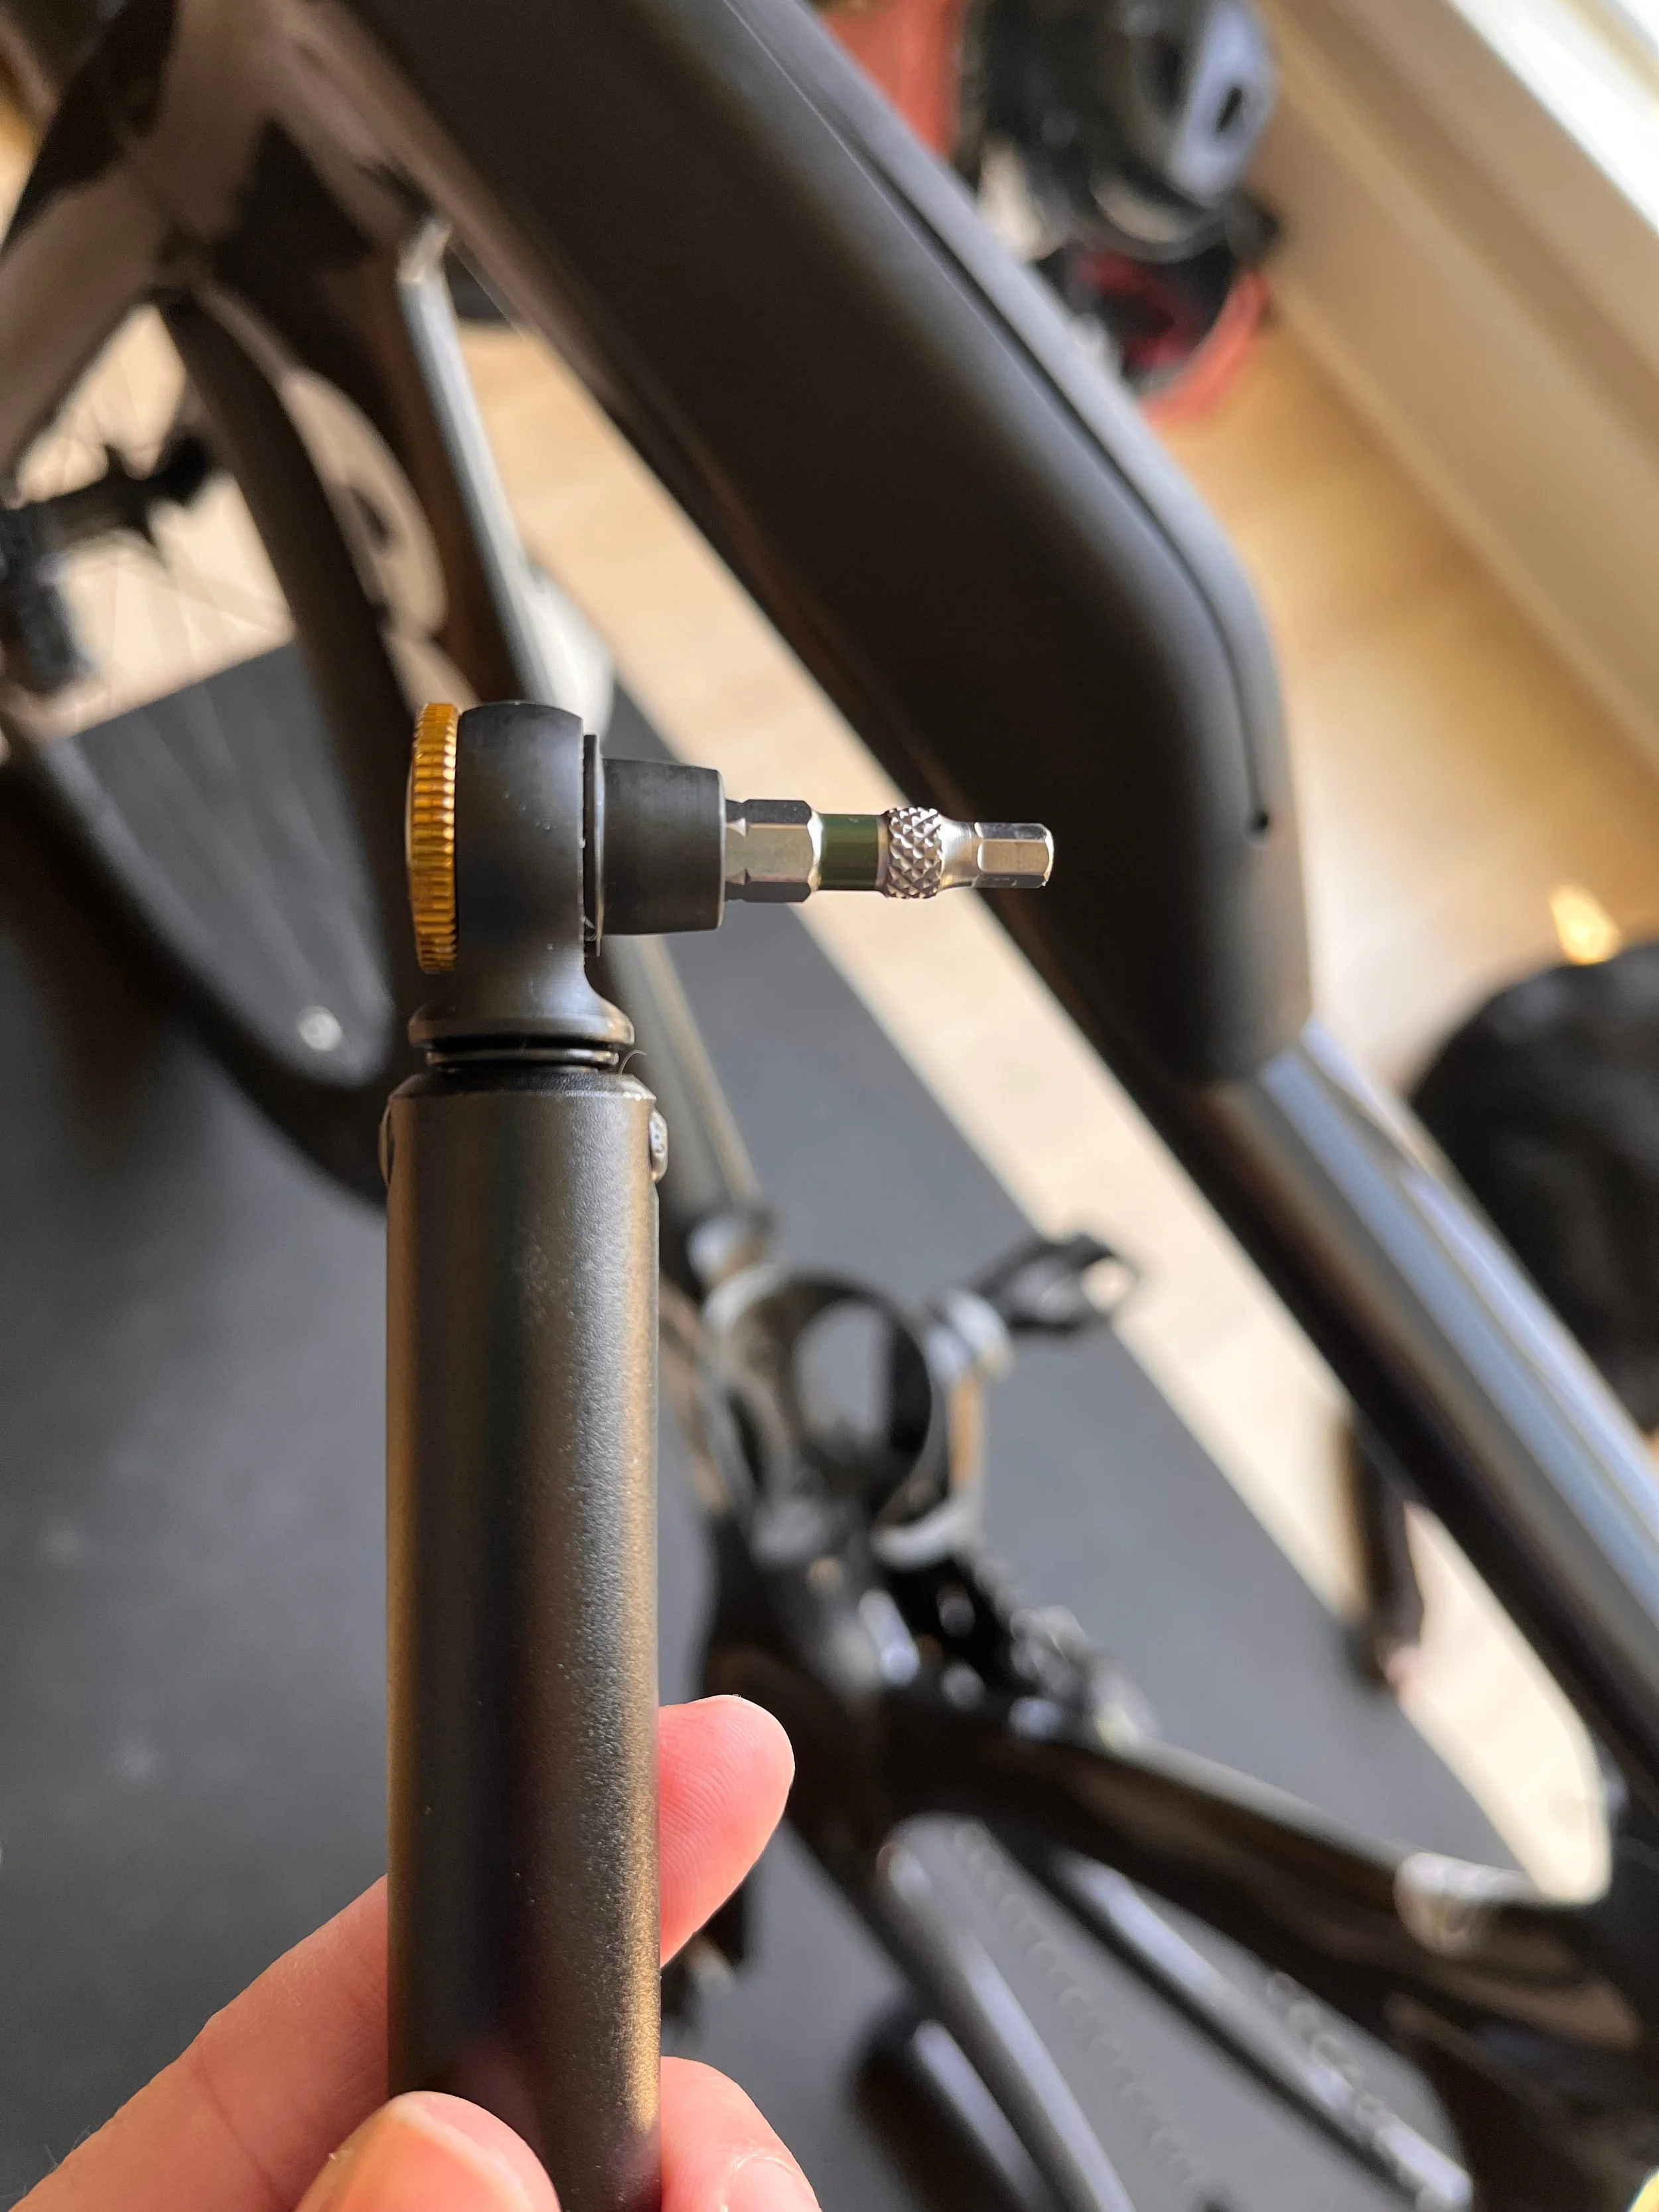
Step 2: Attach the correct bit
Then, select the appropriate bit that fits in the bolt and attach it to the torque stick.
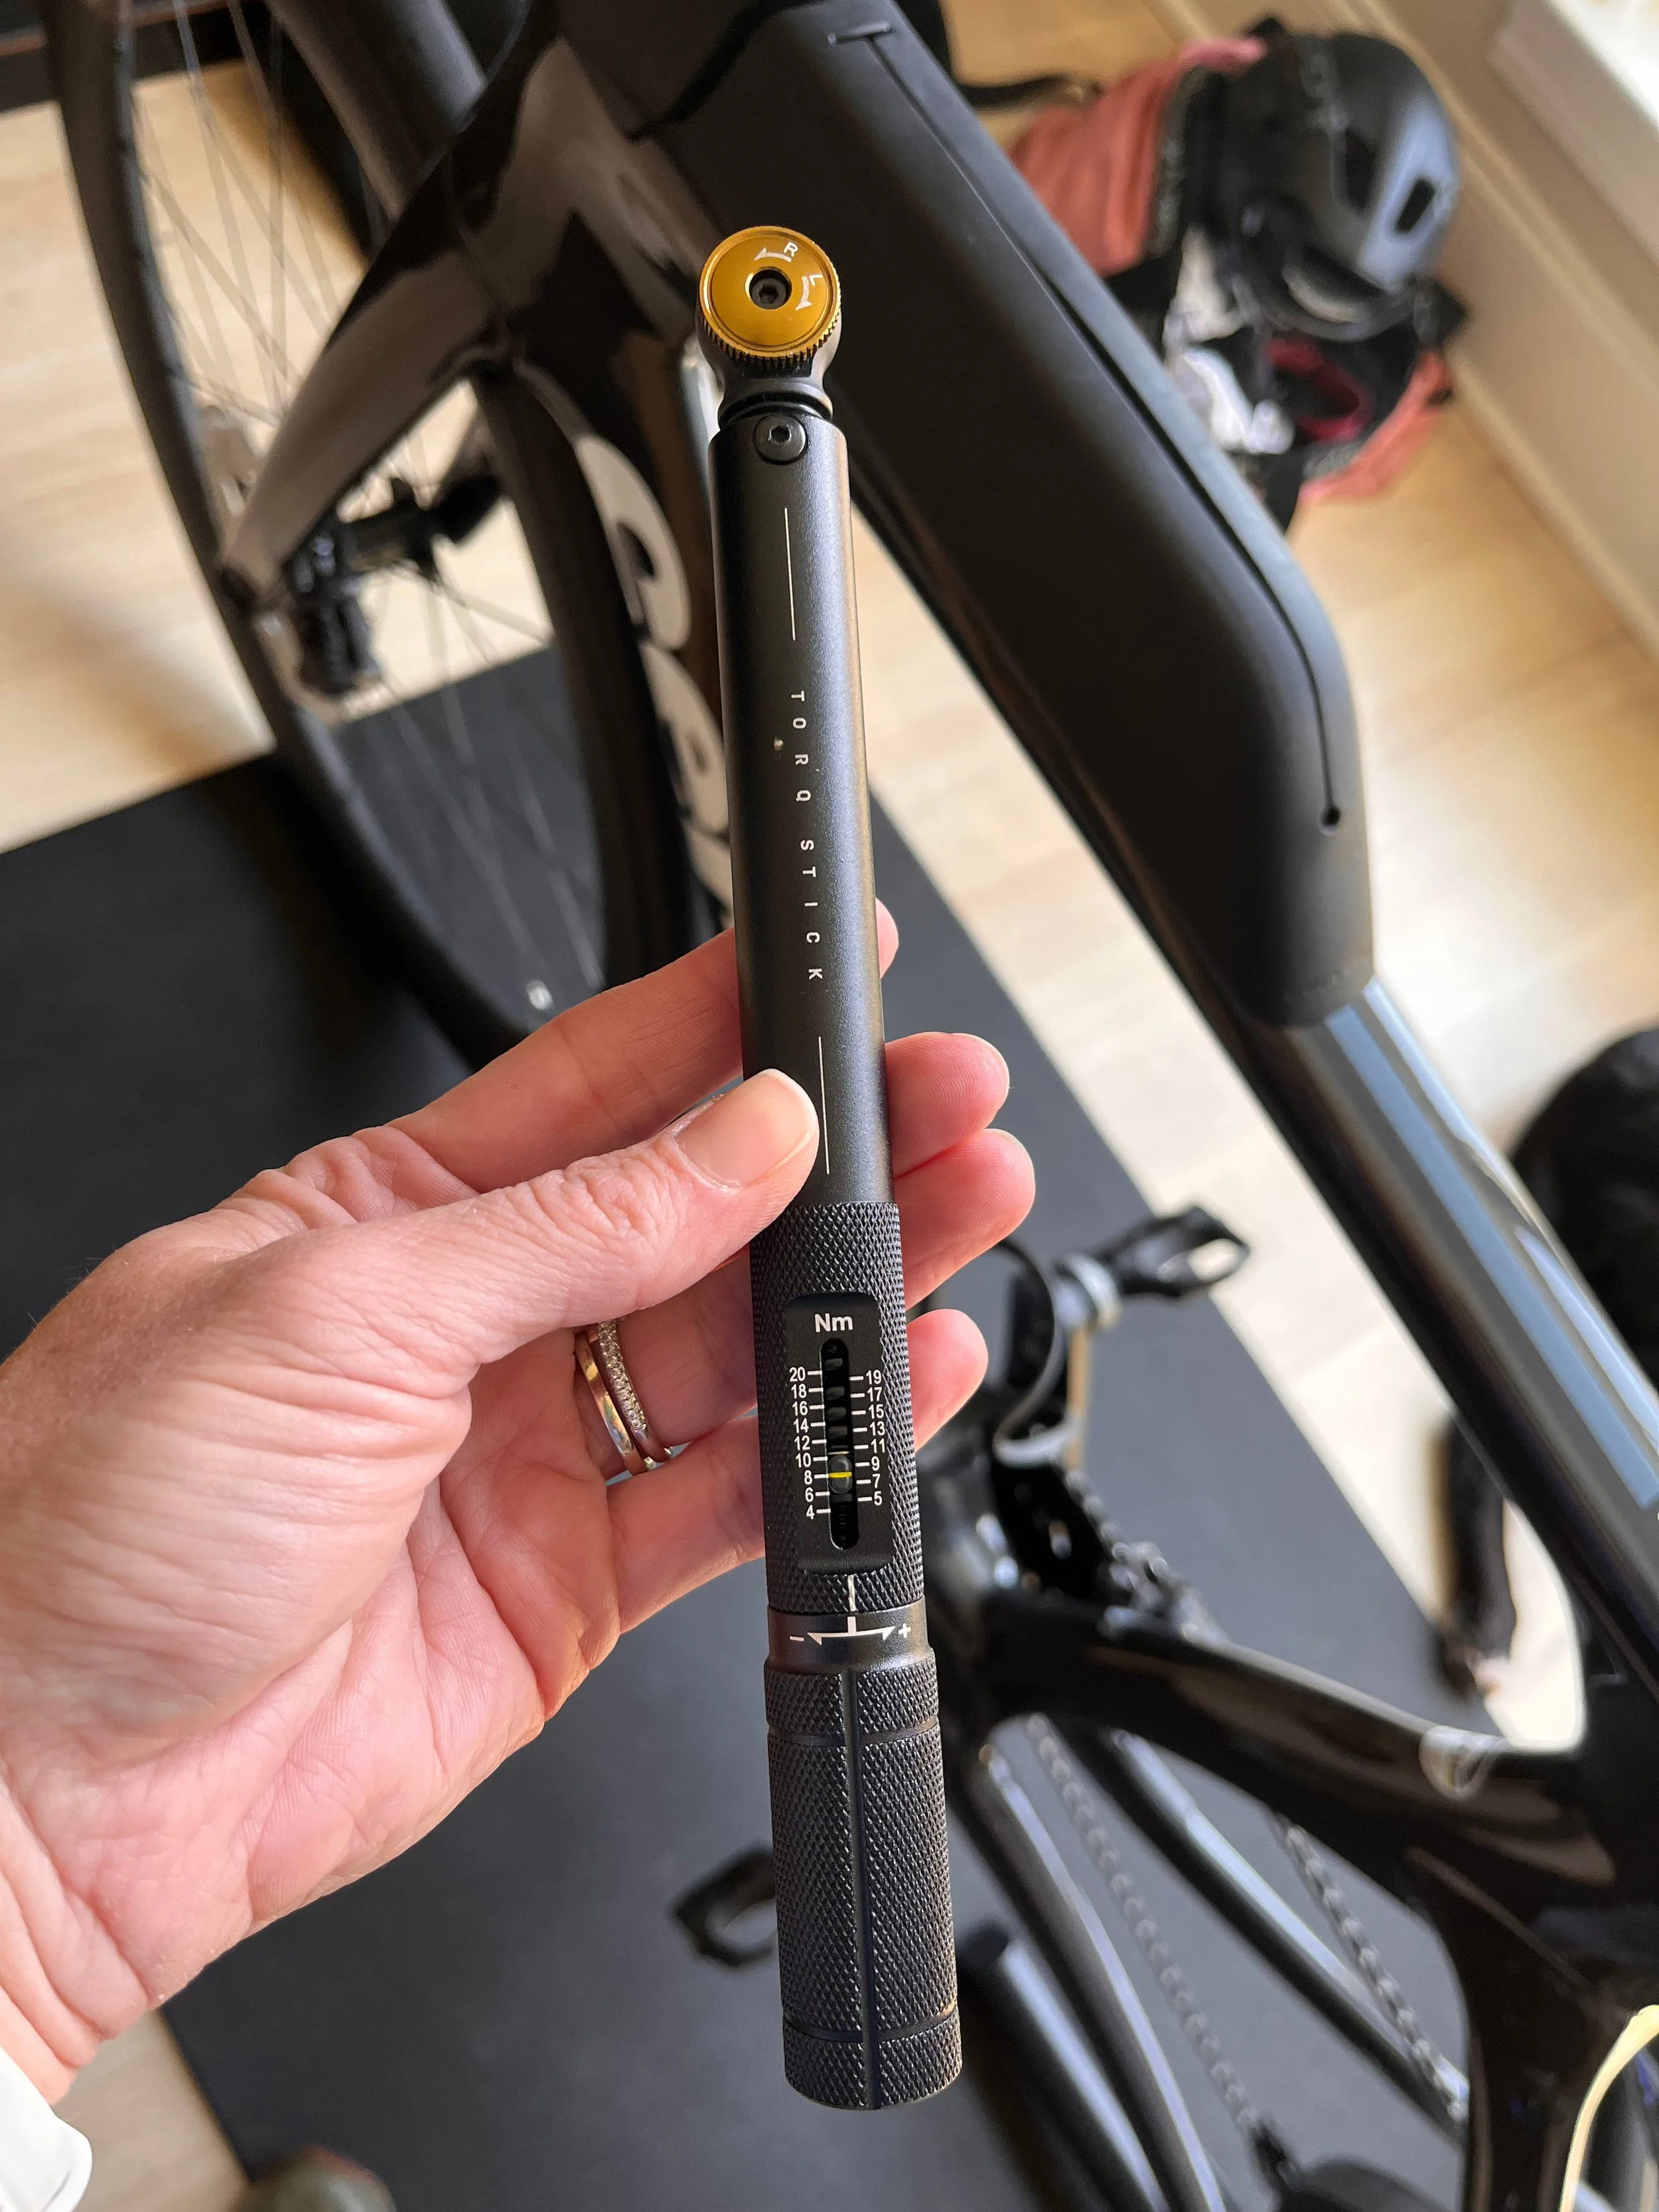
Step 3: Set torque value
Next, adjust the torque stick to the appropriate Nm setting. On this particular tool, you pull out the end and rotate it until the small indicator lines up with the number you want, and it will click in place.
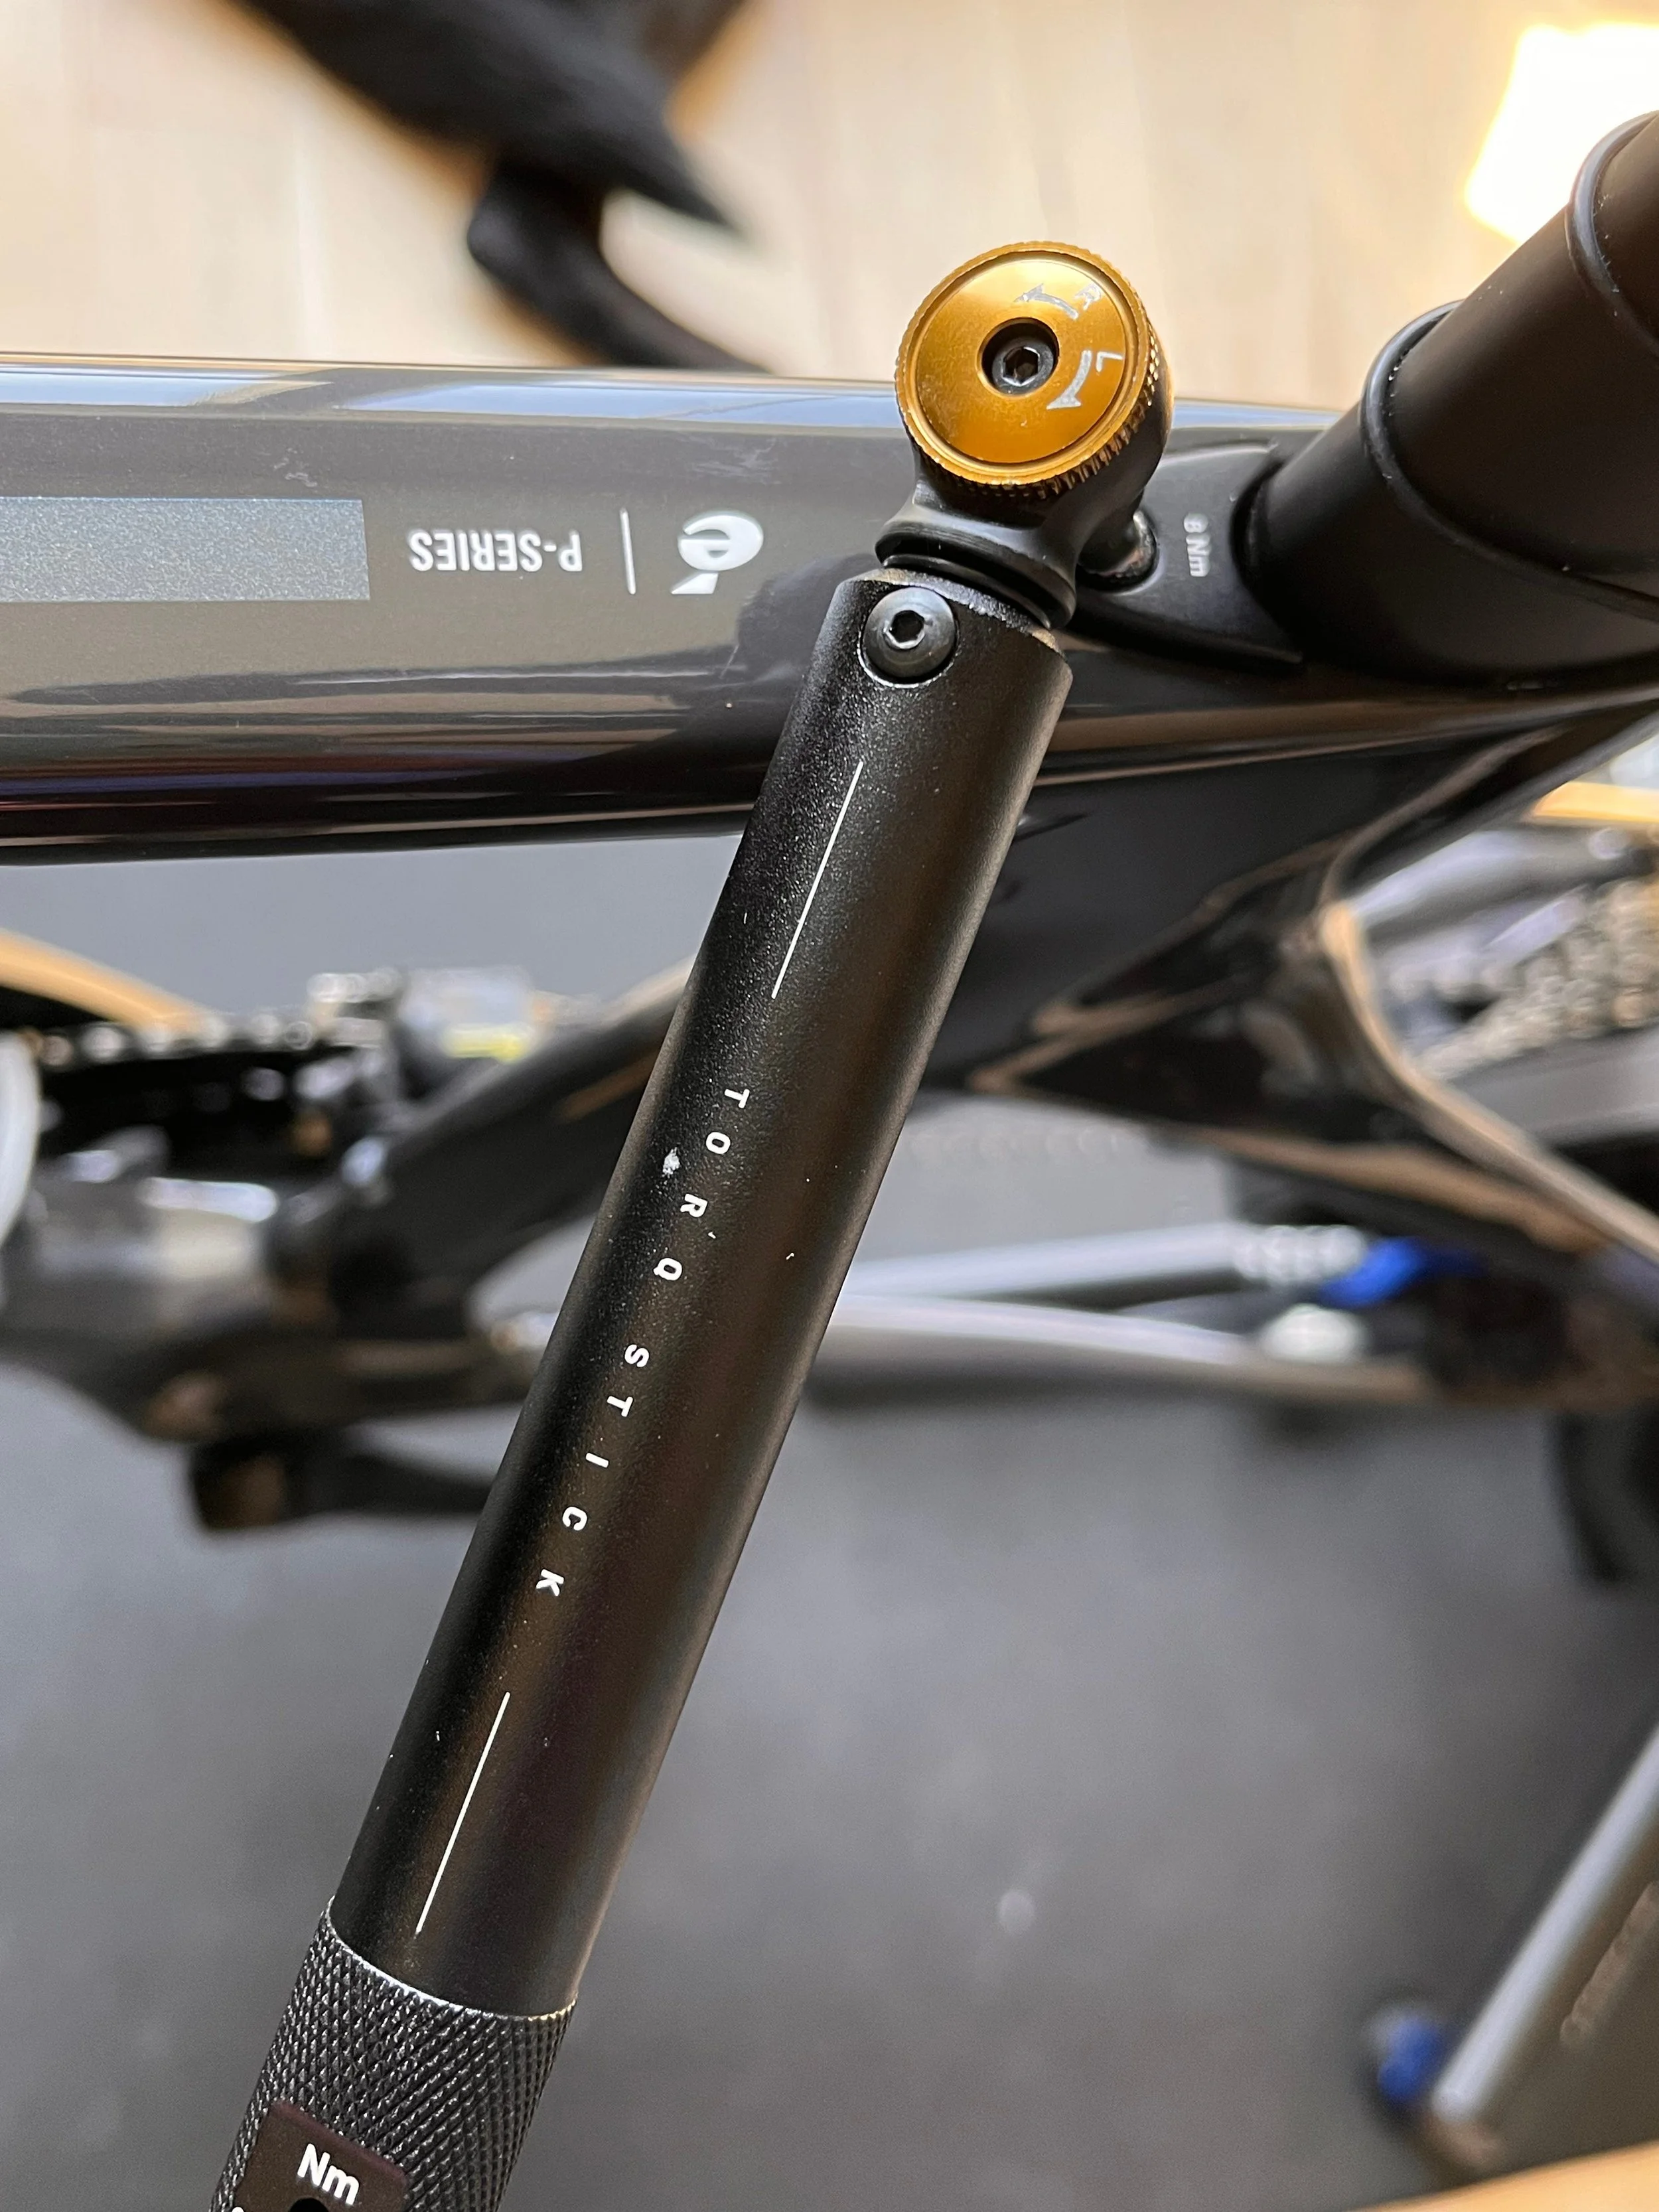
Step 4: Tighten to click
When you use the torque stick to tighten the bolt, it will only allow you to tighten it to the tension setting and no further. You will hear a click and feel the tool slip slightly in your hand as you attempt to continue rotation.
Now, let’s actually walk through how to use a torque wrench on your bike—step by step.
In the video below, I show you exactly how I use a torque wrench on my own bike so you can follow along and feel confident doing it yourself.
*This post is dedicated to two gentlemen who have taught me so much about bikes- Paul Williams and Karel Sumbal.
Upgrade your subscription to watch our informative bike tutorial videos.