

Less Flats. More Fun! What I Learned Using Tubeless Tires For the Past 6 Months
When I got my new triathlon bike last year, we decided it was time to make the switch to tubeless tires.
What are tubeless tires?
I’m glad you asked!
In contrast to a traditional tire that has an inner tube filled with air, tubeless tires have no tube.
So how do they stay inflated?…
A tubeless tire doesn’t need an inner tube to hold air. Instead, the tire bead is designed to lock securely onto the rim, forming an airtight seal. Then, liquid sealant is injected inside. When a small puncture occurs, the sealant fills the hole instantly.
Less flats. More fun!
There are plenty of other benefits of tubeless tires (along with a few drawbacks). So, in today’s newsletter we will learn about:
Differences between tubeless tires and traditional tires
Benefits and drawbacks of tubeless tires
How to set up tubeless tires
*Paid subscribers get access to a video at the end of this post where I walk through the step-by-step process of setting up my own tubeless tires.
What’s the difference between tubeless tires and traditional tires?
The main difference between tubeless tires and traditional tires is that tubeless tires don’t need an inner tube to stay inflated.
Think about the tires on your car. They don’t have an inner tube inside. Instead, the tire is specially designed to stay on the rim with just the air pressure inside keeping it inflated. This isn’t a perfect analogy, because your car tires don’t have sealant. But, it gives you a pretty good idea of how tubeless tires work.
Traditional tires have a separate inner tube that holds the air inside, keeping the tire inflated. But they’re more prone to punctures. All it takes is a small piece of glass or metal to stick in your tire and POP! the rubber tube is punctured and you get a flat.
They’re not hard to fix, so long as you carry a spare tube, CO2 cartridge, tire levers, ect. But it does take some time, so it’s not great if this happens during a race.
In contrast, tubeless tires have liquid sealant inside, so if a piece of debris causes a small hole, the sealant plugs it instantly! This makes tubeless tires more resistant to punctures.
What are the other benefits (and drawbacks) of tubeless tires?
Benefits and drawbacks of tubeless tires

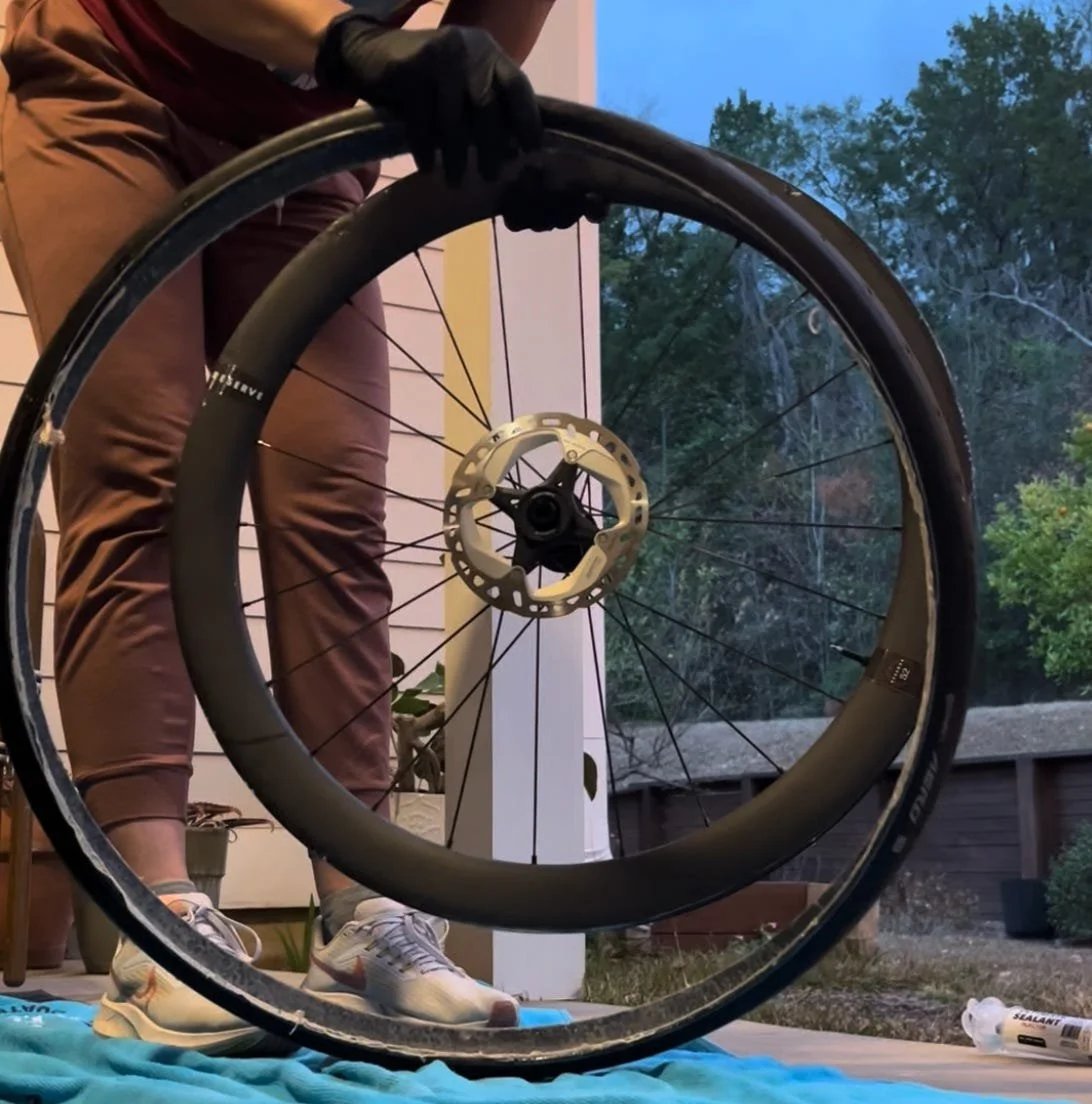
My beautiful bike with tubeless tires.
Not only are tubeless tires more puncture resistant, they generally provide better ride quality because you can runner lower tire pressures. For example, with the same tire- Continental GP 5000 S TR- with tubes, I would run about 90 PSI. Now, with that same tire set up tubeless, I can run 60-65 PSI. That’s a huge difference!
This does a few things. It helps provide a smoother feel over any bumps in the road. I noticed a big difference right away. This also improves traction without the risk of getting a pinch flat, because there’s no inner tube to get pinched against the rim.
Tubeless tires also have lower rolling resistance, which makes them faster. By removing the inner tube, you’re eliminating internal friction between the tube and tire, which causes energy loss.
The best part about tubeless tires is they’re self-healing. If you get a small puncture, the sealant fills it instantly. We saw this in real-time at the 70.3 World Championship in Marbella last November. When we picked up Matt’s bike from transition, we noticed one of his wheels had white sealant sprayed on the side of the rim. That meant he got a small puncture somewhere on course, and he didn’t even know it.
In case of a large puncture, you may need to fill the hole. That’s why we carry a Dynaplug in our top tube. It’s a small device with a rubber plug that you can insert into the hole and re-inflate the tire with a CO2.
One drawback of tubeless tires is there’s a more complex initial set-up. Also, there’s a higher initial cost, because you need quality sealant and rim tape. In addition, not every tire can be set up tubeless, so you will need to check if your wheels are tubeless-compatible.
Tubeless tires also tend to be a bit heavier (60g or more + sealant) but the performance benefits outweigh the slight weight penalty.
Another thing to consider is that tubeless tires aren’t “set it and forget it.” They require some maintenance. The liquid sealant will dry up over time, so you need to add more periodically and sometimes completely redo the setup to remove the dried sealant.
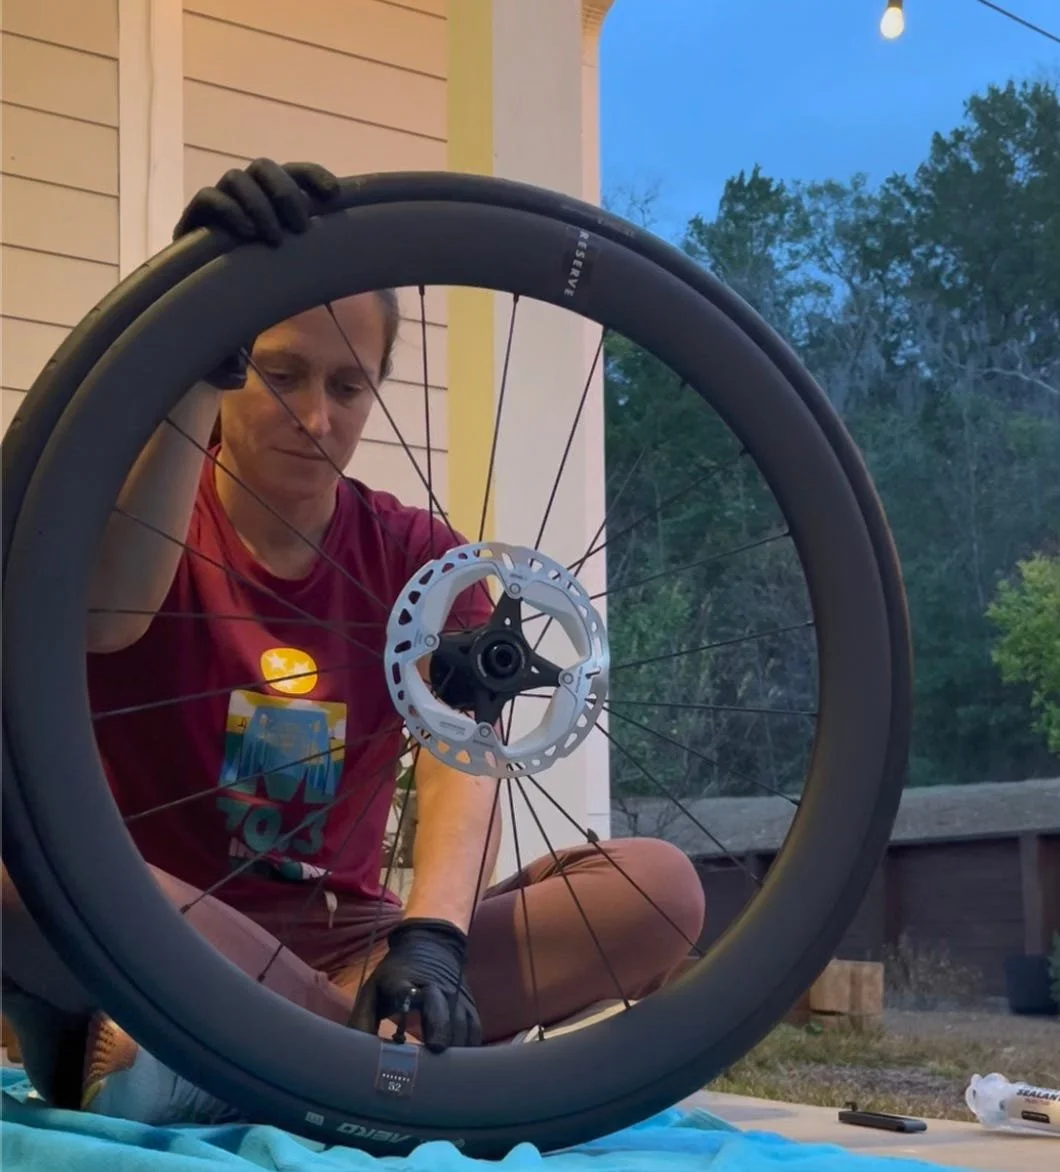
That brings us to the final portion of today’s newsletter- how to set up tubeless tires!I’m not a master at this yet. On a recent trip to Greenville to visit our coaches for a mini-traincation, Coach Karel taught me how to redo my tubeless tires. It had been about 6 months since they were set up, and the off-season was a good time to do it.
So, he did the rear wheel, and when I went back home, it was my job to do the front wheel. Honestly, it wasn’t as hard as I thought!
Become a paid subscriber to access fun, bonus content (like the tubeless tire video tutorial) as well as monthly expert webinars, a dozen premium product discounts, and free Triathlon Foundations e-book. Join here.
How to set up tubeless tires
Remember that not all tires are tubeless-compatible, so that’s something you need to check. But if it’s time to redo your current tubeless tires, this part is for you!
Supplies:
Appropriate tubeless valves
Liquid sealant (We like Silca’s Ultimate. High quality sealant is important because it lasts longer.)
Tire sealant injector (We like this one from Silca, because it comes with a syringe and tube, as well as a valve core tightener.)
Tire lever
Floor pump or air compressor
Paper towel or hand towel
Rubber gloves
Plastic bag for trash
Step 1: Let the air out of the tire
First, you need to unscrew the top of the valve and let all the air out of your tire.
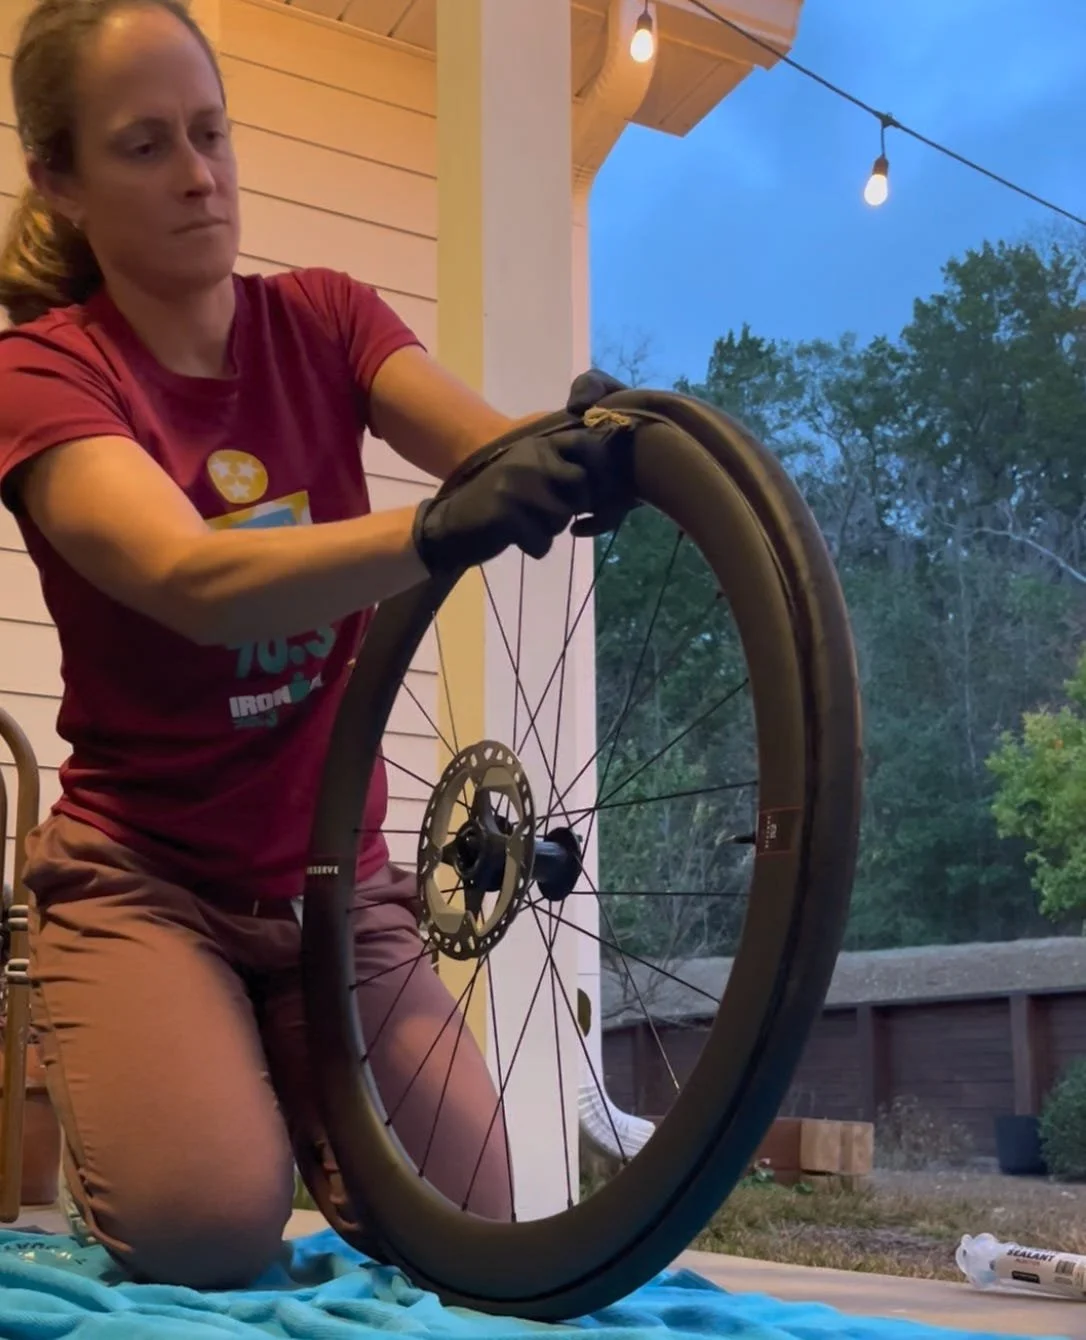
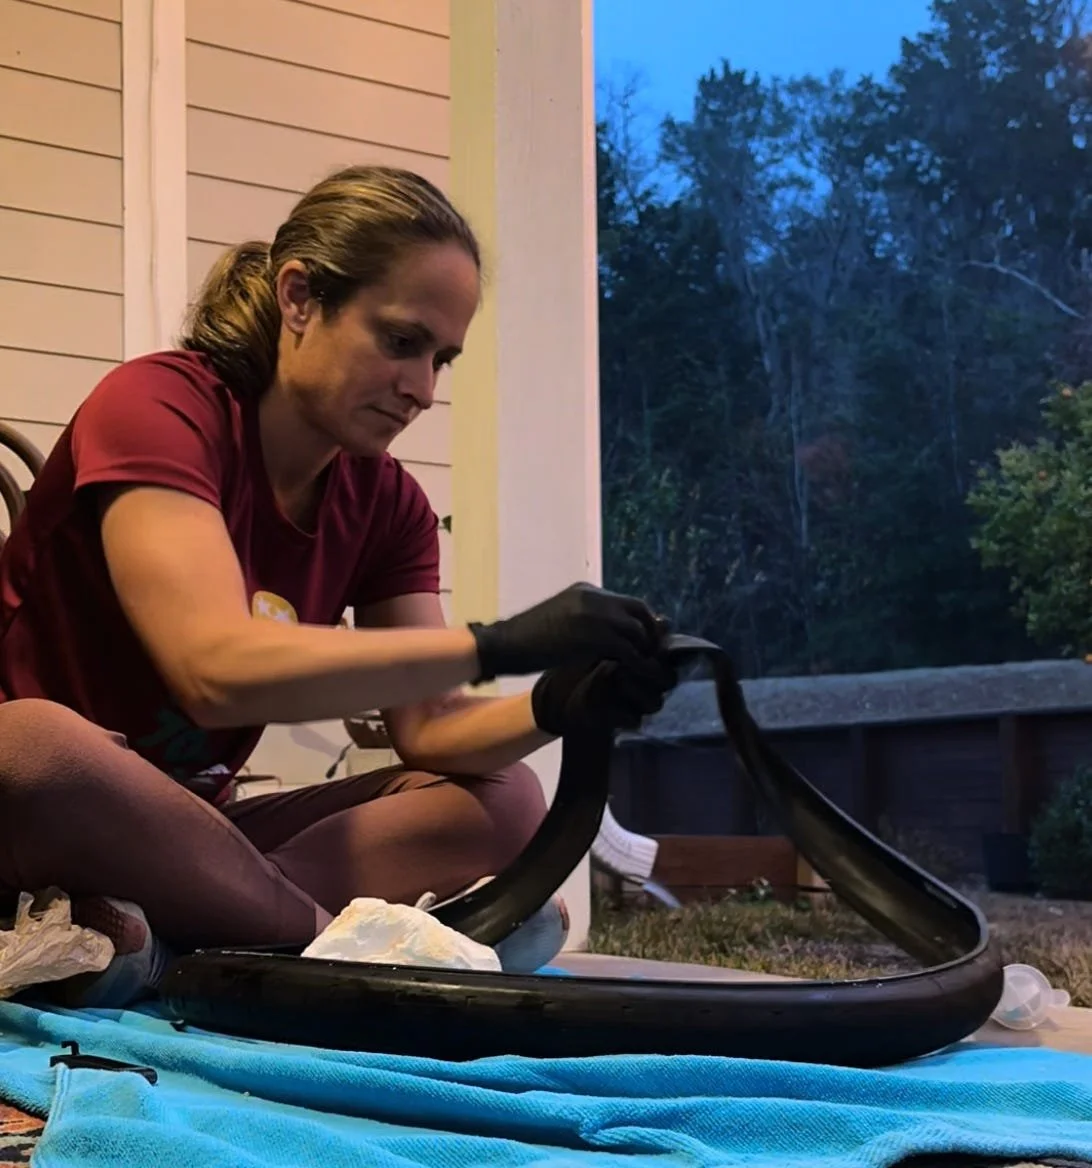
Step 2: Unseat the tire from the rim
You do this by using your thumbs to press against the sidewall of the tire to break the seal. You will hear a few light pops as the tire releases from the rim. Do one side and then flip the tire around and do the other side.
Step 3: Remove the tire from the rim
The best way to do this is with a tire lever. Insert the lever in between the tire and the rim. Then, push the lever away from yourself, or pull it toward yourself to get the lip of the tire over the edge of the rim.
TIP: Use your other hand to put pressure on the top of the tire so the part you just loosened doesn’t pop back in as you move the tire lever around the rim.
Steps 1-5
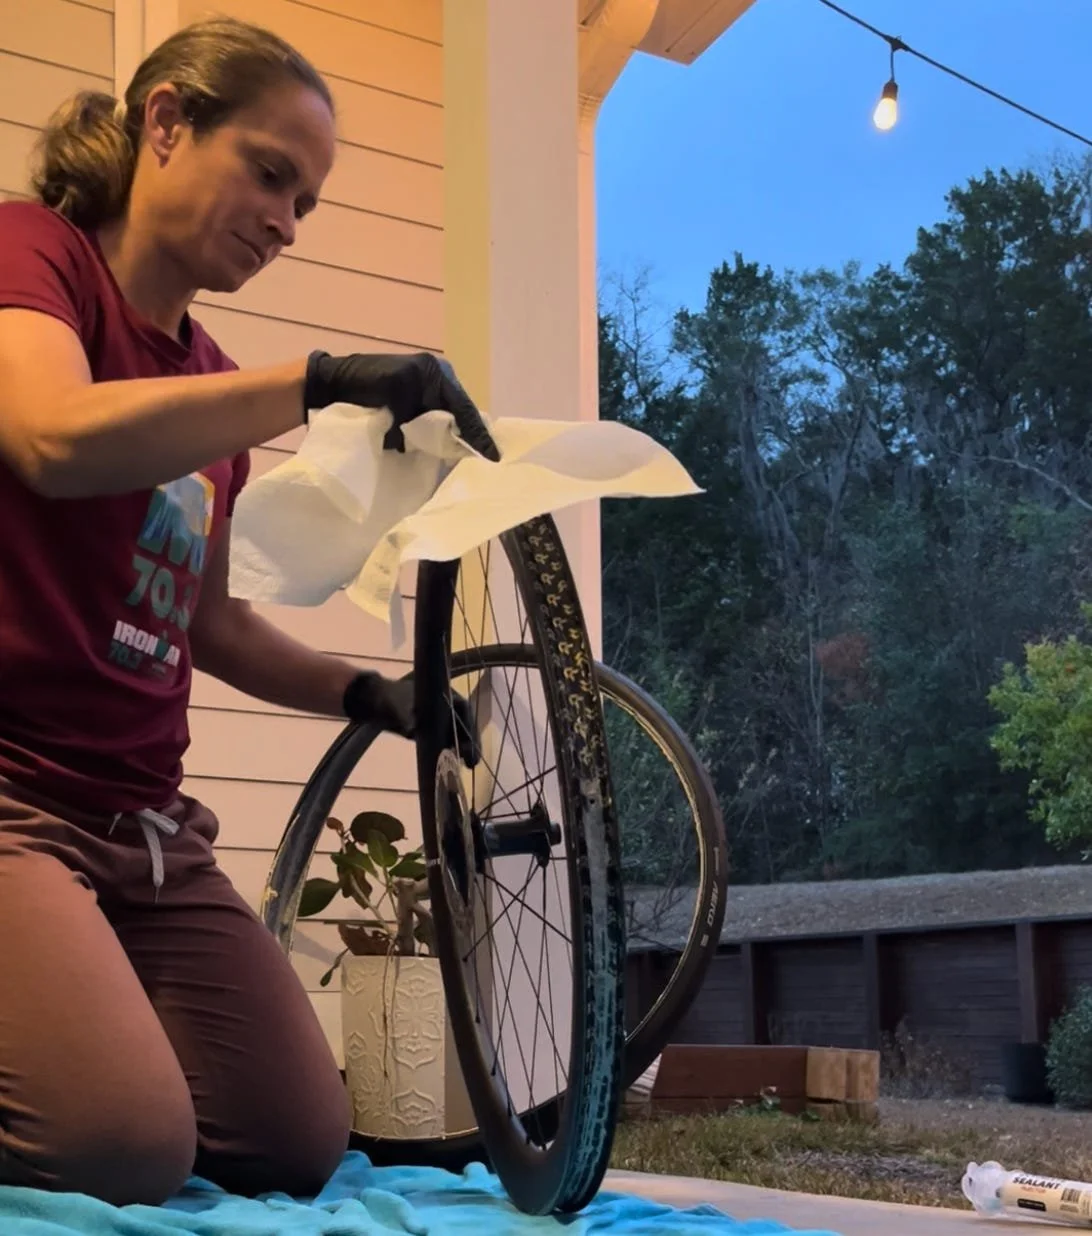
Step 4: Clean and inspect the rim tape
I used a paper towel to wipe off the rim. Then, I inspected the rim tape to make sure it was still in good quality. Coach Karel says it’s very important to check that the tape doesn’t have any small indents at each spoke. This can result in your tire losing air and not sealing properly. My rim tape was still in good condition, so I didn’t need to replace it.
Step 5: Remove any dried sealant
Apparently, you don’t have to remove all of it, but because my sealant was very easy to remove, I took it all out. There are a few different techniques. I used a paper towel to rub it and peeled off small sections, just like peeling rubber cement when you were a kid! Matt has a friend who scrapes it off with an eraser.
Step 6: Seat the tire on the rim
This step is very important, because an airtight seal is crucial to tubeless tires working properly. Some bike shops will use an air compressor to seat the tire, but since we don’t have one of those, Matt used a regular floor pump and aggressively pumped up the tire.
The goal is to seat the tire onto the rim, so you will hear a few loud pops. Don’t worry. You didn’t break anything. This is supposed to happen. Coach Karel says if you have trouble getting the tire to seat, you can rub a bit of soap along the bead and that should help it pop onto the rim.
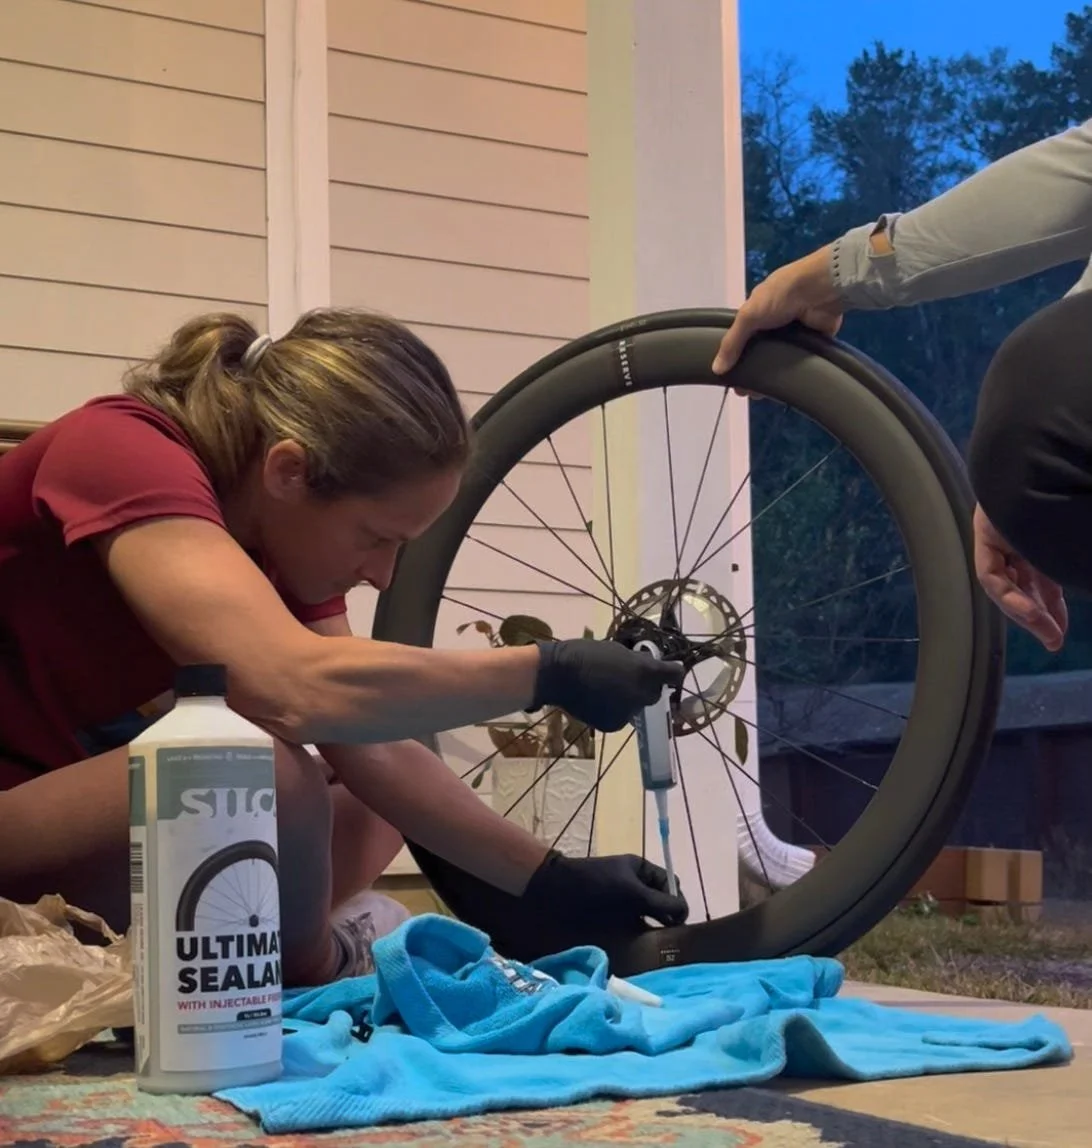
Step 7: Inject sealant into the tire
Now that the tire is seated, release the air from the tire again. Then, you will need to remove the valve core from the valve so there’s an opening to inject the sealant. The Silca injector makes this part easy, because it comes with a small plastic piece that you pop on the valve and helps you unscrew the valve core.
Remove the plunger and fill up the injector with sealant. According to Coach Karel, the proper amount of sealant for a road tire is typically 2 oz. or 60ml/cc. “Some sites say you can do 30ml/cc of sealant, but that’s really not enough if you consider that you will have a layer of that on the inside of the tire and not much left to actually seal a puncture,” Karel says.
Then, insert the plunger again and attach the tube. Now, attach the tube to the valve and inject the sealant into the tire.
Step 8: Replace the valve core and pump up the tire
Now, screw the valve core back into the valve, making sure to hold the base of the valve still in one hand so it doesn’t rotate and break your seal. Then, pump up the tire to your desired PSI.
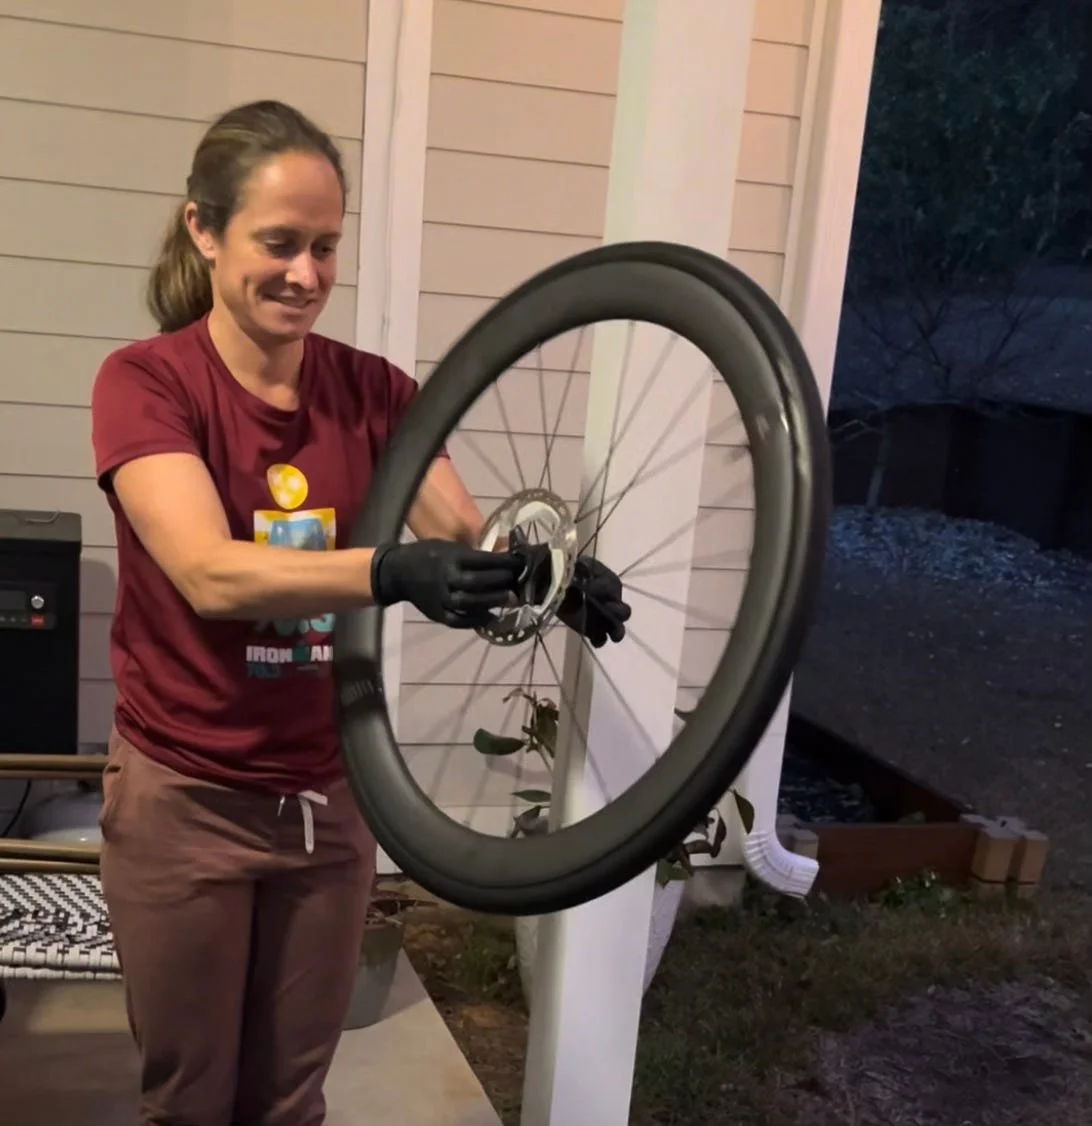
Step 9: Rotate the tire to distribute sealant
The final step is to spin the tire and shake it around a bit to distribute the sealant so it coats the inside.
That’s it! You’ve just set up your tubeless tires. This whole process took about 30 minutes, and it wasn’t nearly as hard as I thought it would be.
Next up we will be doing a tutorial on how to wax your own bike chain, so get ready…
*Paid subscribers get access to a video below where I walk through the process as we change my tubeless tires. Watch the video here.