

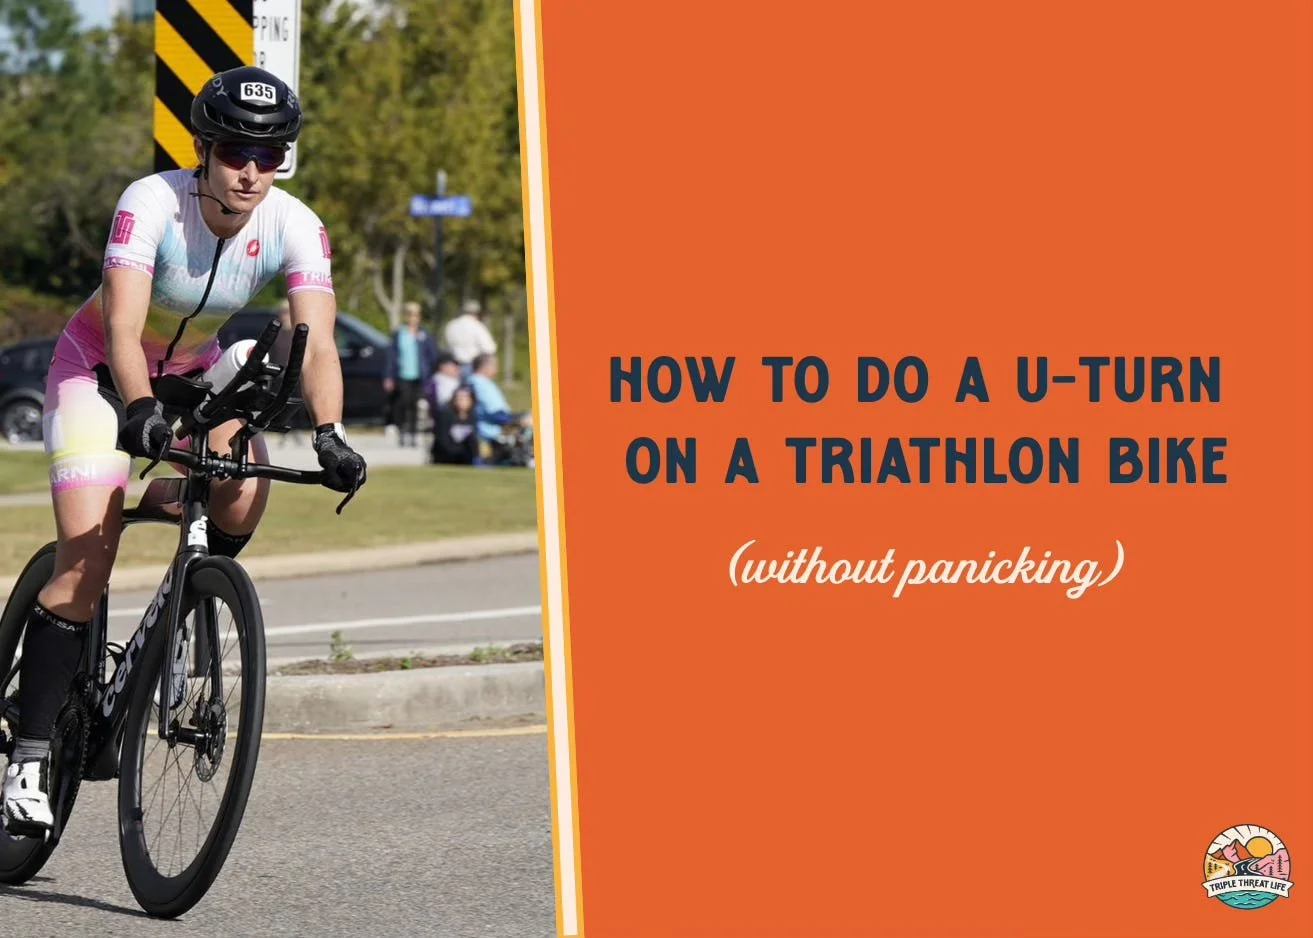
How to Do a U-Turn on a Triathlon Bike (Without Panicking)
For a long time, U-turns were my nemesis on the bike.
I could ride comfortably in my aero bars and hold good power, but the moment I saw a turnaround cone in a race, all my confidence would vanish.
I’d get nervous, tighten up, and worry that I couldn’t complete the turn without unclipping or going off the side of the road. That led to two minor crashes (in training) that resulted in a scratched bike, bloody knee, and a bruised ego.
But that all changed when my coach taught me how to do a U-turn correctly.
Once I understood the process and practiced the steps repeatedly, I became more confident in my ability to navigate even the tightest of U-turns on my triathlon bike!
If U-turns make you nervous, this post is for you.
Why cycling skills matter in triathlon
Cycling skills are the missing link for many triathletes. I think there are few things that cause this issue:
Most triathletes do the bulk of their cycling on indoor trainers and neglect outdoor practice
Most triathletes are adult-onset cyclists, who weren’t taught basic skills
There’s an overemphasis on achieving speed before mastering skills
We all know that you have to learn to walk before you can run, but for some reason that logic completely disappears when it comes to bikes. Triathlon bikes are sport-specific (not to mention expensive) machines. For an athlete without basic bike-handling skills, it’s like giving a toddler the keys to a Ferrari.
And this has nothing to do with natural ability. These are learnable skills that every cyclist, triathlete, or human-who-rides-a-bike should know. It’s simple things like shifting gears, safety braking, climbing and descending, starting and stopping, clipping and unclipping, and doing a U-turn.
Mastering these skills will improve your ability to ride a bike and increase your confidence level, which will make racing safer, more enjoyable, and yes, faster!
Over the next few weeks, I’ll share simple cycling skills every triathlete should know, such as:
Getting in and out of aerobars with confidence
Staying comfortably in aero for extended periods of time
Climbing hills and descending technique
Swapping bottles from rear cages and more
And when you get tempted to shift your focus to watts, VO2 max, or the latest and greatest aero gadget, remember this.
Skills first. Speed later. You don’t always need a better bike. You need better bike handling skills.
And today, we start with U-turns!
Doing a U-turn the right way isn’t about going fast or being brave. It’s about setup, body position, and where you direct your attention. Here’s how to execute a U-turn safely and confidently.
Where you might do a U-turn in a triathlon
Most triathlon courses, especially long-distance triathlons like 70.3 or Ironman, have bike courses with laps. Sometimes, these laps will include out-and-back sections, which require you to change direction by doing a complete 180° on the road.
Here’s what it looks like. During a race, you will see a sign indicating a U-turn is coming up. There will be a cone that you must turn around and ride back the opposite direction. Sometimes, the U-turn is on a wide road with plenty of space on either side of the cone. Other times, the road is narrow, which makes it a bit more challenging.
Also, you will need to keep an eye on the other triathletes riding on course. Being aware of your surroundings is the first step in doing a safe and successful U-turn.
Common mistakes athletes make with U-turns
I’m familiar with all these mistakes, because I used to make them too! A few common mistakes beginners make with U-turns include:
Braking too hard before the turn
Slowing down too much
Not downshifting before the turn
Turning the bars instead of leaning the bike
Pedaling in the turn
Braking in the turn
Not looking where you’re going
Step-by-step breakdown
It doesn’t matter if you have a triathlon bike or a road bike, the process is the same. When you approach a U-turn, downshift your gears (more than you think). One common mistake is when athletes don’t downshift enough before the U-turn and end up in too big of a gear coming out of the turn. This makes getting back up to speed more challenging and wastes energy.
Next, slow down, but not too much. You can’t turn if the bike is barely moving. The goal is to scrub some speed before the turn and then let go of the brakes through the turn. Don’t brake in the turn. This impacts your momentum.
TIP: A great tip from my coach is to think of the song from Frozen- Let It Go!
Now, you need to plan your path. Swing toward the inside just a bit and then loop out around the cone. Remember to look around you- in front and behind- to see where other cyclists are located before you turn.
When you start the turn, stand out of the saddle and shift all your weight to the outside leg, while lifting the inside leg up. This is important so the inside pedal doesn’t scrape the ground. That’s how you crash.
Learning how to do the weight shift is the most essential part of a U-turn. Most athletes (like past-me) will try to turn the bike by turning the handlebars. Instead, shift your weight to the outside of the turn while you lean the bike to the inside of the turn.
It might sounds counterintuitive, but if you stick your butt to the outside and put weight in your outside leg, while leaning the bike to the inside, it cannot fall over.Physics!
TIP: It will take some practice to get the weight shift down. It may feel awkward at first. I learned by practicing on a straightaway. I did it over and over again until I felt comfortable standing out of the saddle, shifting my weight to the outside, and leaning my bike to the inside.
Another very important part of the U-turn is to look where you’re going. Don’t just look with your eyes. Turn your head and look where you’re going. Your bike will go where your eyes tell it to go.
Also, keep light hands. All your weight should be in the outside pedal. Don’t press down hard on your hands. You want your weight to the outside so the front end of the bike can move freely around the turn.
Now it’s time to practice!
The best place to practice U-turns is in an empty parking lot. You can use a cone or water bottle as your U-turn target. At triathlon camp last year, we actually had three cones set up in a triangle design and practiced the swing to the inside and loop to the outside.
Start by doing the U-turns wide at first and then you can gradually make the turns tighter. If you get really good, you can even practice turning inside a parking space or double parking spaces.
Confidence cue
I’m all about confidence cues that are instructional, because it’s easy for me to repeat in the moment. Here’s something you might say before the U-turn.
“Shift, stand, lean, and look where you want to go.”
Want to see this skill in action?
Paid subscribers get access to a video below where I demonstrate the setup, body position, and common mistakes—so you can see what this should look like on a triathlon bike.