

Open Water Swimming for Triathletes: A Complete Beginner Guide to the Triathlon Swim
Learn more about 70.3 and Ironman triathlon prep with our complete guide here.
If you’re training for your first triathlon and nervous about open water swimming, this guide will walk you through everything you need to know—from learning how to swim, to sighting, staying calm, and gaining confidence for race day.
What is Open Water Swimming?
While most of your swim workouts will take place in the pool, on race day, you will (most likely) be swimming in open water. There are some pool-based triathlons, but if you’re planning on doing a triathlon with an open water swim, you need to be prepared to swim in a natural body of water. This might be a lake, river, or the ocean.
Why Open Water Swimming Feels So Hard
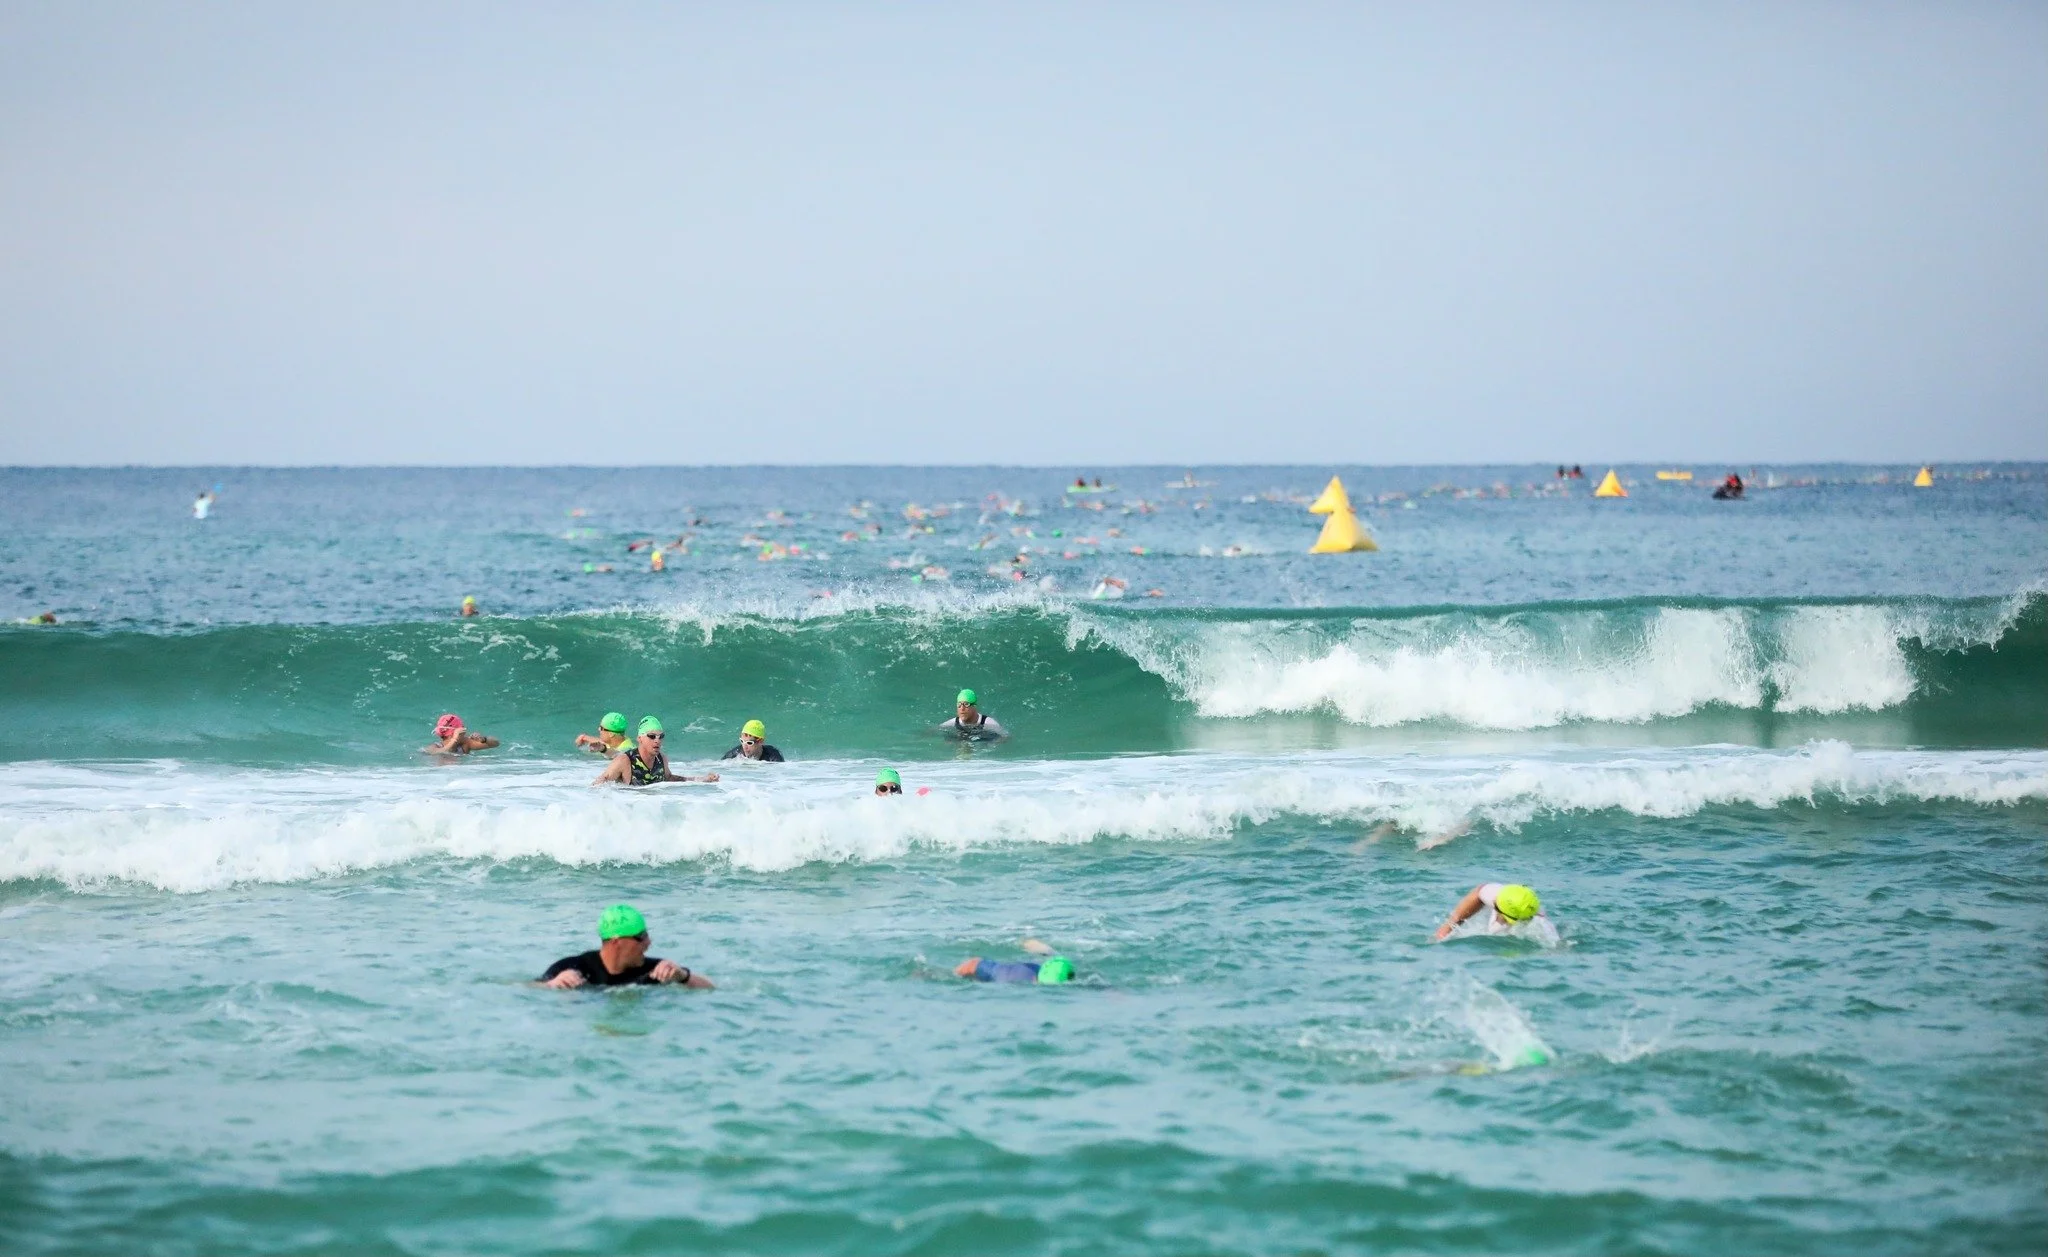
Unlike the controlled environment of a pool, open water is much more unpredictable. There are no lane lines to follow. You will be swimming in close contact with other athletes. There might be low visibility with dark water, or temperature changes, like colder water that you’re used to. In the ocean, there’s often waves or chop, and in a lake or river, you might encounter current. For many new triathletes, this process is intimidating and amplifies their worst fears. But it doesn’t have to be this way!
How to Stay Calm in Open Water
Before you even step foot in the water, you want to do something that will activate the parasympathetic nervous system, which turns off the fight or flight response and creates a feeling of calm. The way you do this is by breathing with an extended exhalation. So, you might breathe in for 4 seconds, a slight hold, and then breathe out for 6 seconds. The timing can vary; it’s the extended exhale that’s key.
Also, acclimating to the water temperature is important. If you’re at a race, you can use a throwaway bottle to pour a little water inside the front of your wetsuit. You can use warm water if you’re preparing for a cold swim, but the main purpose is to prevent the wetsuit from creating a vacuum on your chest. This can lead to a feeling of chest compression and breathlessness. After you put on your wetsuit, let a little water inside the top and readjust so it feels comfortable.
During a training session, before you start swimming, get in chest-deep and put your face underneath the water. Practice blowing bubbles and exhaling calmly. Adjust to the temperature and low visibility. Do this for a few minutes. Once your body realizes that it’s ok to be in dark, cold water and nothing bad is happening, then you can start to swim.
Now, when you’re at a race, you might have the opportunity to do a warm-up swim, and you might not. That’s why it’s important to practice all these skills prior to race day, so you feel comfortable and confident swimming in open water.
How to Sight and Stay on Course in a Triathlon
When you don’t have the safety of a black line at the bottom of the pool to direct your path, it can be intimidating. And no, you can’t just follow the feet of the people in front of you, because they might not know where they’re going!
The best way to navigate and stay on course is by sighting. Everyone sights differently, but a common method is “alligator eyes” where you lift your eyes up slightly out of the water before continuing with your stroke. There’s also a rolling sight where you lift your eyes and turn your head immediately to the side to breathe.
Some people sight every 3-5 strokes, while others sight every 7-10. Find what works best for you. The goal is to sight for an actual object. Don’t just go through the motions. Look for a buoy, and if you can’t see a buoy, look for a tall tree, building, or other landmark on shore to stay headed in the right direction.
Being able to sight without significantly altering your form is crucial to maintain efficiency and speed. Lifting your head too much will cause your legs to drop, creating excess drag. This wastes energy. So, it’s important to practice your sighting technique during pool sessions. You can incorporate a few 50 yards with sighting during your cool-down as you prepare for an upcoming race.
How to Swim Efficiently
Most triathletes swim 2-3 times a week, but all that time spent in the water isn’t doing much good if you’re cementing bad form. Make an effort to be intentional about learning how to do all parts of a freestyle stroke. Most athletes focus on the catch (and that’s important) but that’s step 4 in a list of skills you need to learn how to do first.
To start, you need to learn a streamlined body position. Your body should be horizontal in the water with head, hips, and heels close to the surface. Your head is under the water, but not too far, and slightly looking forward. Don’t look down directly at the bottom of the pool, and don’t crane your neck up to look up where you’re going.
Each stroke begins with your hand entering the water first, followed by the elbow, and then the shoulder. When your arm is fully outstretched, it’s time to set up the catch and pull. This is where most of your power comes from. Keeping your hand below your elbow in the water, bend your elbow and pull your hand back toward and just past your hip. Don’t rush this part. Think about grabbing water at the start and then accelerating as your hand moves back. Then, do the same on the other arm. Now, you’re swimming!
A good mental cue is to imagine climbing a ladder. You wouldn’t windmill your arms around quickly to climb the ladder, would you? No. You would be intentional about grabbing ahold of each rung and pushing your body up past your arm. Think about doing the same when swimming.
You also need to breathe during all this. Think about rotating your upper body to the side to breathe. Don’t lift your head up out of the water. Rotate your upper body, neck, and head as one piece, like you were a rotisserie chicken. Keep one goggle under the water; look at the lane line underwater as a cue.
There are many different breathing patterns. You can breathe every stroke, or every other stroke, every 3 strokes, etc. The key is not to hold your breath underwater. Gently blow bubbles under the water when you exhale, so you can get a clean, breath when you turn your head to the side.
Bilateral breathing, or having the ability to breathe to both sides, is ideal because it promotes a balanced stroke and helps with adjustability when you get in open water. You may have a preferred side you like to breathe to, and that’s ok if you revert to that side during a race, but it’s very important to train both sides.
We also need a light flutter kick to maintain balance, but remember that this isn’t where most of your propulsion comes from.
It’s also key to work on varying intensities, because this helps you become more efficient and increases fitness. Just like your form and breathing pattern change when running at different paces, it’s the same with swimming. Think about swimming at a smooth, steady, and strong effort. You could also think about percentages; know what it feels like to swim at 60%, 70%, 80%, etc.
Finally, we want to maximize time we spend in the water. We do that by swimming sets with short rest periods. You wouldn’t run 13.1 miles during every training run for a half marathon, would you? So, we don’t need to swim 1,500 yards or 1.2 miles without stopping either. Swimming shorter intervals (25y, 50y, 100y, 200y, etc.) will help you maintain good form, stave off fatigue, and increase endurance. You can vary the effort level of these sets, as well as reduce or increase rest intervals by :10, :15, :20, :30 to work on different energy systems, which will make you a better swimmer.
Common Mistakes Triathletes Make in the Open Water Swim
Starting too fast
Starting too fast will spike your heart rate, which can contribute to anxiety, panic, and excess fatigue. Instead, start out at a comfortable effort. You can stay there, or gradually increase your effort level as you build into your race pace.
Not exhaling under the water
Forgetting to exhale under the water leads to a buildup of Co2 and a feeling of breathlessness. Remember to gently blow bubbles when your face is under the water.
Not learning to breath bilaterally
We all have a tendency to breathe to our favorite side, but learning how to breathe bilaterally is important for two reasons. In a training setting, learning how to breathe to both sides helps prevent form imbalances that can arise from only breathing to one side. How you breathe affects your balance, rotation, and the timing of your stroke.
In an open water setting, having the ability to breathe to both sides is a valuable skill. What happens if waves or rough chop are coming at you from your favorite side? What if the sun is causing a glare so you can’t see? This is why having the ability to breathe to both sides is essential, even if you revert to your preferred side during a race.
Not practicing in a wetsuit
This is a very common mistake new triathletes make. Remember the triathlete’s motto- Nothing new on race day! You want to test out all your gear prior to the big day to make sure there are no issues and you feel comfortable using your race set-up. Also, as you’ve learned by now, open water swimming is much different than pool swimming. You need to practice swimming in dark water, cold water, around other athletes, in waves, into sun, with and against current, use sighting, etc.
Freaking out when you start to panic
If you start to panic in open water, your race isn’t over. First, switch to your safety stroke (breaststroke, backstroke, etc.) and focus on slow, controlled breathing. You can even flip onto your back and float if you’re wearing a wetsuit. Spend a few seconds treading water and remain calm. During a race, you can even grab ahold of a kayak if you need to take a break. There’s no rule against this; you just can’t make forward progress with assistance. Then, once you feel ready, start swimming again and try to develop an easy, steady rhythm.
Open Water Triathlon Tips For Race Day
Do a swim warm-up. If you can do a practice swim prior to the race start, do it! Swim easy for 10-15 minutes, get comfortable in the water, and elevate your heart rate just a bit. If you can’t do a swim warm-up, use swim bands or do some stretches, arm circles, or a short jog to make sure your muscles are primed and to get your blood pumping.
Don’t jump in the water and go full-speed. Pace yourself. Start easy. You can always build into your race pace as you feel more comfortable. Even if you’re a more seasoned swimmer and can handle some take-out speed, dial it back to a steady rhythm once you get past the commotion of the race start so you don’t burn all your matches at the start of the race.
Water entry during a triathlon depends on the race set-up. For a beach start, you can walk into the water, or jog with knees that splay out to the sides so you can arc your shins horizontally over the water’s surface. For a water exit on a beach, think about swimming until your hands touch the sand. Then, stand up, put your goggles on your head, and continue toward transition to remove your wetsuit. As you run, remove the top and pull your wetsuit down to your hips for easy and quick removal in transition.
Remember to sight every few strokes to make sure you’re staying on track and swimming in the right direction.
Next Steps:
Now that you know the basics, it’s time to go in the deep end... Check out these posts for more in-depth training tips and race day insights to learn how to swim confidently in the pool and open water.
Want more triathlon tips? Join my newsletter where I share real-world advice for beginner and experienced triathletes.
If you’re getting ready for your first 70.3 or Ironman triathlon, grab a copy of my book- The Complete Guide to Your First 70.3 Triathlon.
The Complete Guide to Your First 70.3 Triathlon is your all-in-one resource for training smart, racing strong, and crossing your first finish line with confidence.
Written by journalist and triathlete Brittany Vermeer, an 8x 70.3 finisher, 2x Ironman finisher, and 2x 70.3 World Championship qualifier, this 100+ page e-book takes the guesswork out of training and race prep.
Inside, you’ll discover:
How training changes for long-distance + essential skills and drills
Recommended gear and training essentials
How to conquer open water swimming
Smart pacing and fueling strategies for race day
Mental tools to stay calm and confident under pressure
Step-by-step guidance for navigating race week, transitions, aid stations, and race rules
Lessons learned from real-world experience — what works, what doesn’t, and what no one tells you before race day
Whether you’re training for your first half-ironman, or just haven’t been able to race to your potential at this distance, this book is for you.